If you still have time left on your warranty, taking your HTC One in for repairs can be a serious pain if you've modified it in any way. To avoid the chance that they'll reject your phone because it's been tampered with, you'll have to return it to stock condition.
To Do This, You'll Need to S-OFF
Not only does this let you install the ROM Update Utility (RUU) that will restore the original firmware, it lets you get rid of the messages in your bootloader and splash screen that say your HTC One has been unlocked or relocked.
As a cool bonus, S-OFF (which stands for Security-OFF) can also trick your phone into letting you install an RUU for a different phone (such as the Developer or Google Play Edition).
Prepare Your Computer
If you don't already have them, you'll need to download and install the HTC drivers and Android SDK tools onto your computer. If you previously rooted your HTC One using my softModder guide to unlocking the bootloader and rooting, you should already have everything. If not...
Step 1: HTC Sync Drivers
You can get the drivers needed using the HTC Sync Manager, but you should uninstall Sync Manager from your computer after installing. The drivers will remain installed, but the HTC Sync program itself will interfere with Moonshine (the S-OFF Program we'll be using).
Step 2: Android SDK Tools
You'll also need the Mini SDK from Android Forums. More info can be found in this thread. You may need to create an account to download it.
Step 3: Download Moonshine
Moonshine is the easiest way to achieve S-OFF on the HTC One. Download the appropriate file for your version of the One and your operating system, and extract the zip to a folder of your choice.
Step 4: Sync Moonshine with SDK Tools
Moonshine needs to be able to run adb and fastboot, which are tools from the Android SDK. To make this happen (in Windows), right-click My Computer, click Properties, Advanced System Settings, and Environment Variables.
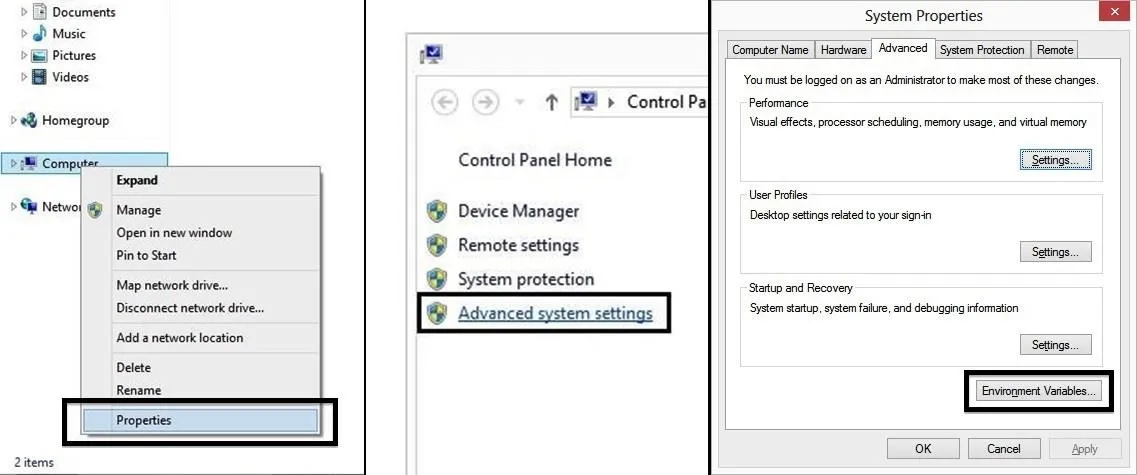
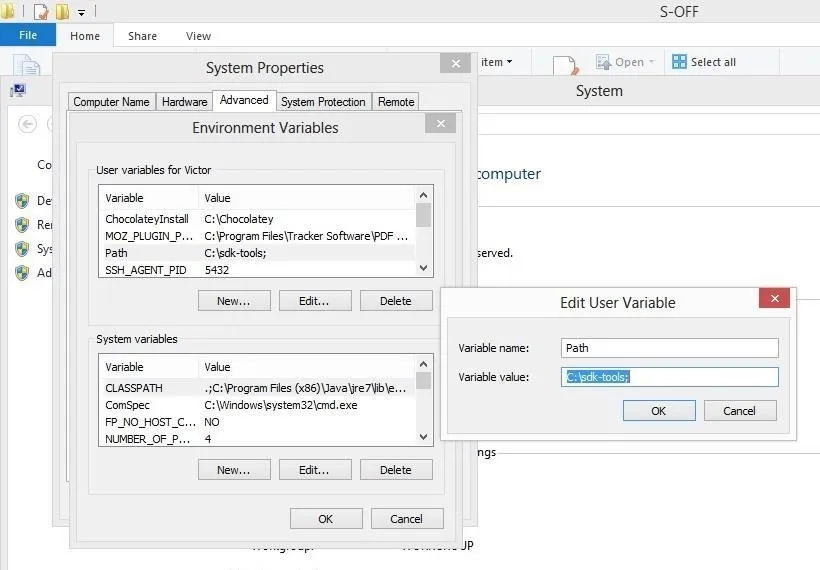
Under User Variables, click Path, Edit, and at the end of the line, add a semicolon and the directory to your SDK tools. Do the same for the Path under System Variables and click OK to close the several windows we used to get here.
Prepare Your Phone
Before connecting your HTC One to your computer, there are a few things you'll want to do, like disabling the lock screen and enabing USB debugging.
Step 5: Disable Lock Screen
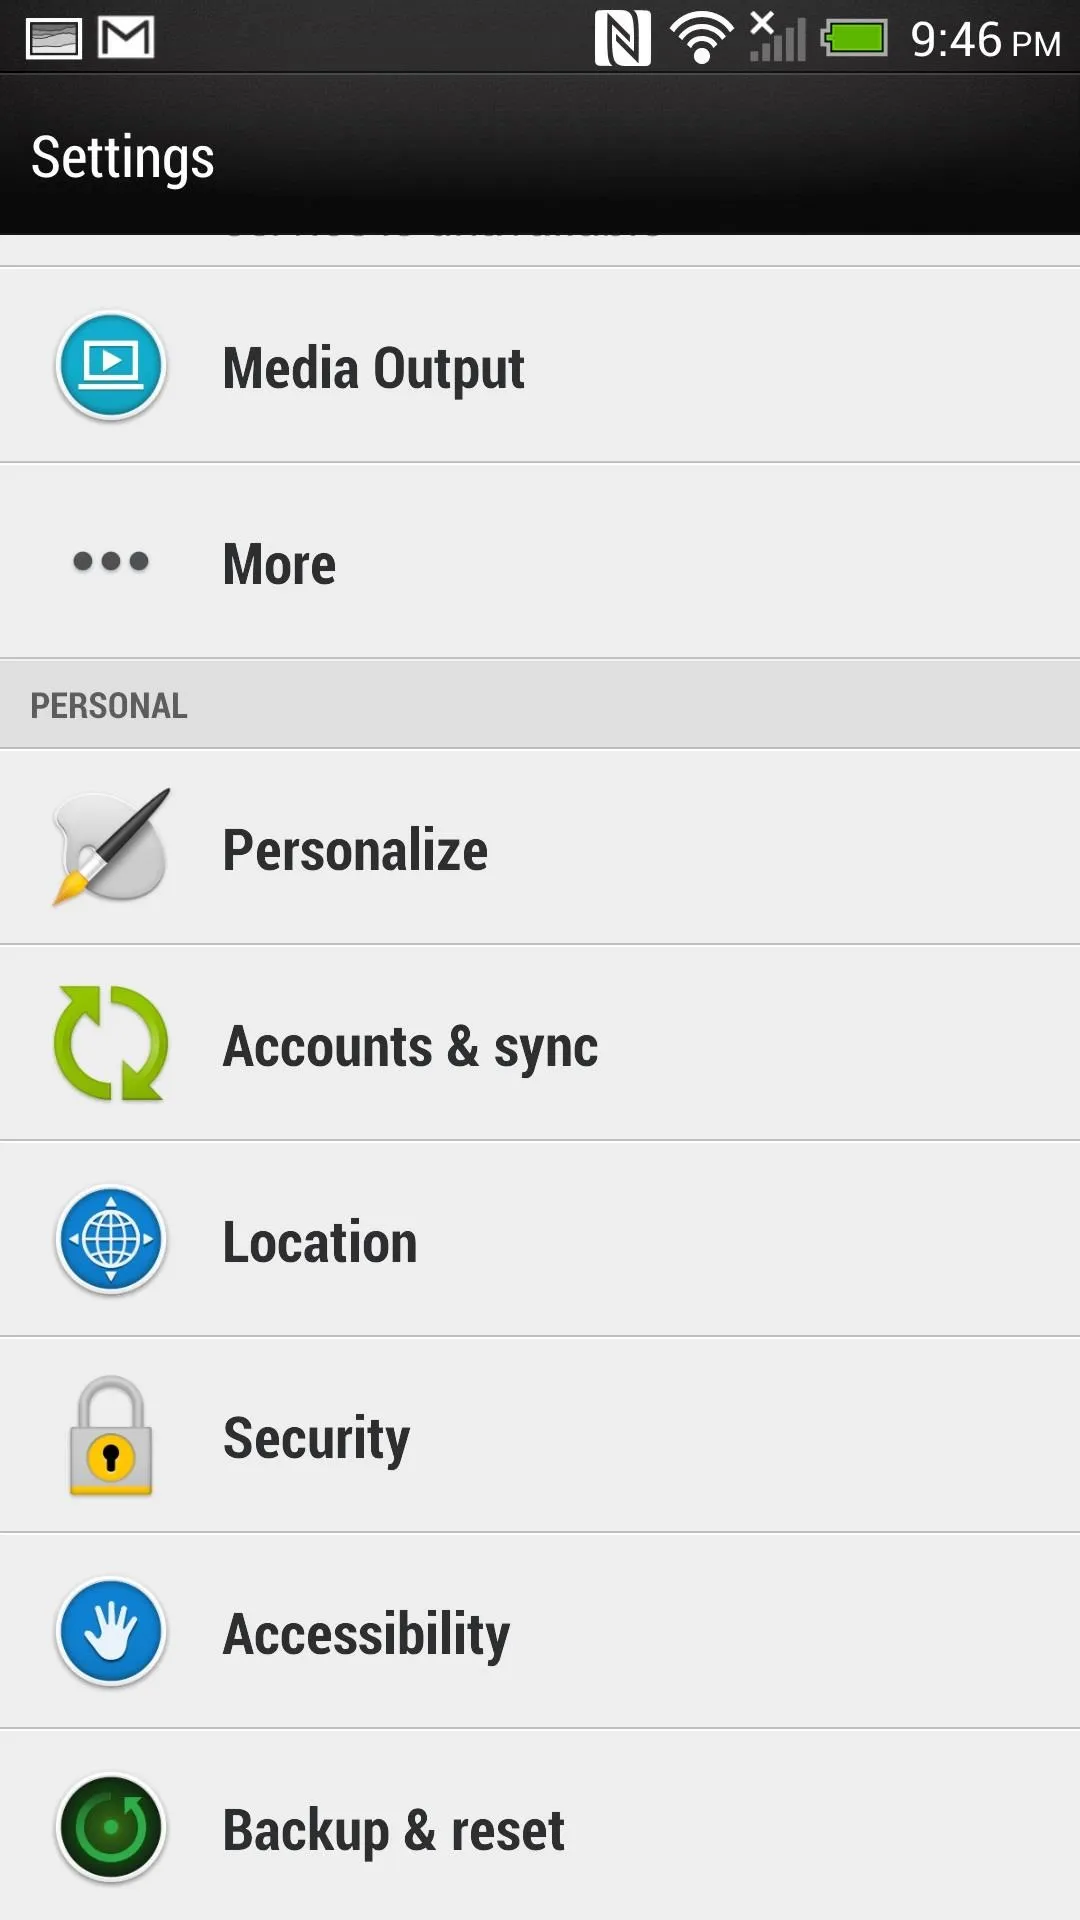
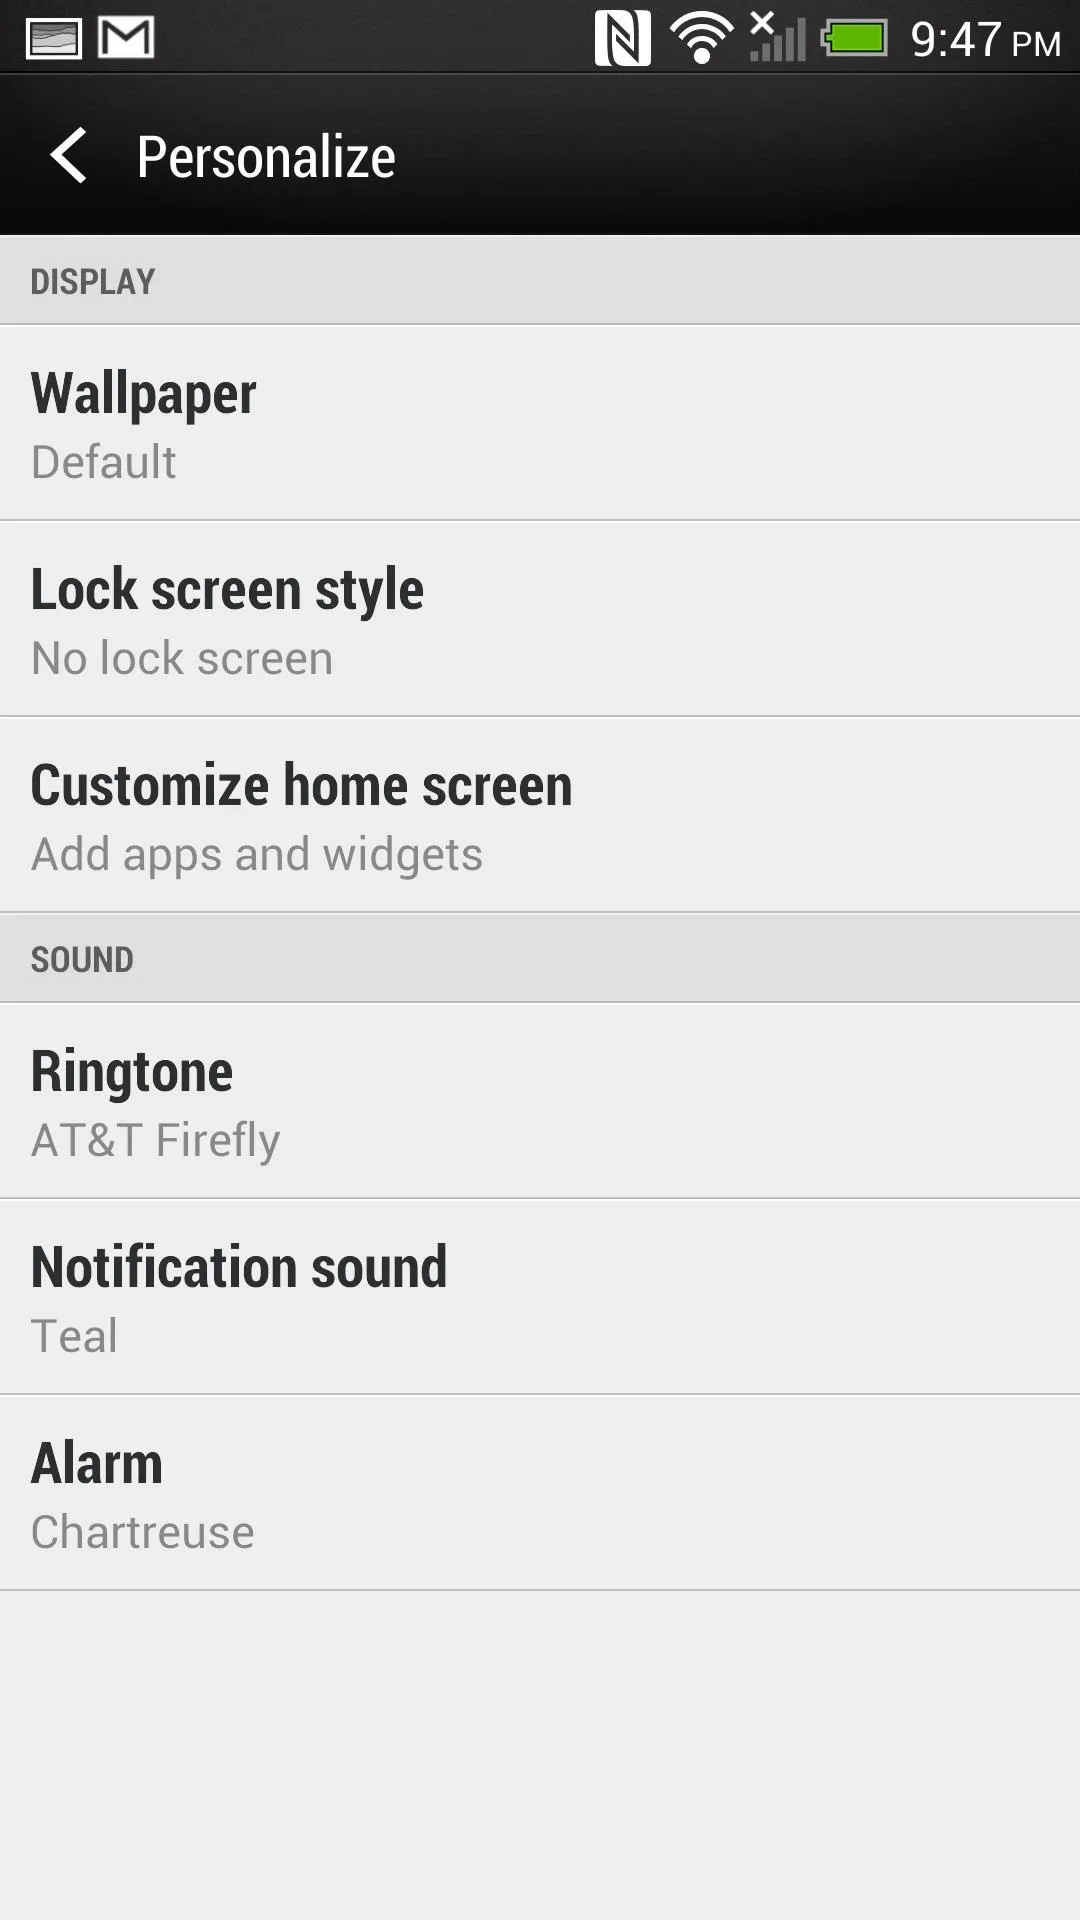
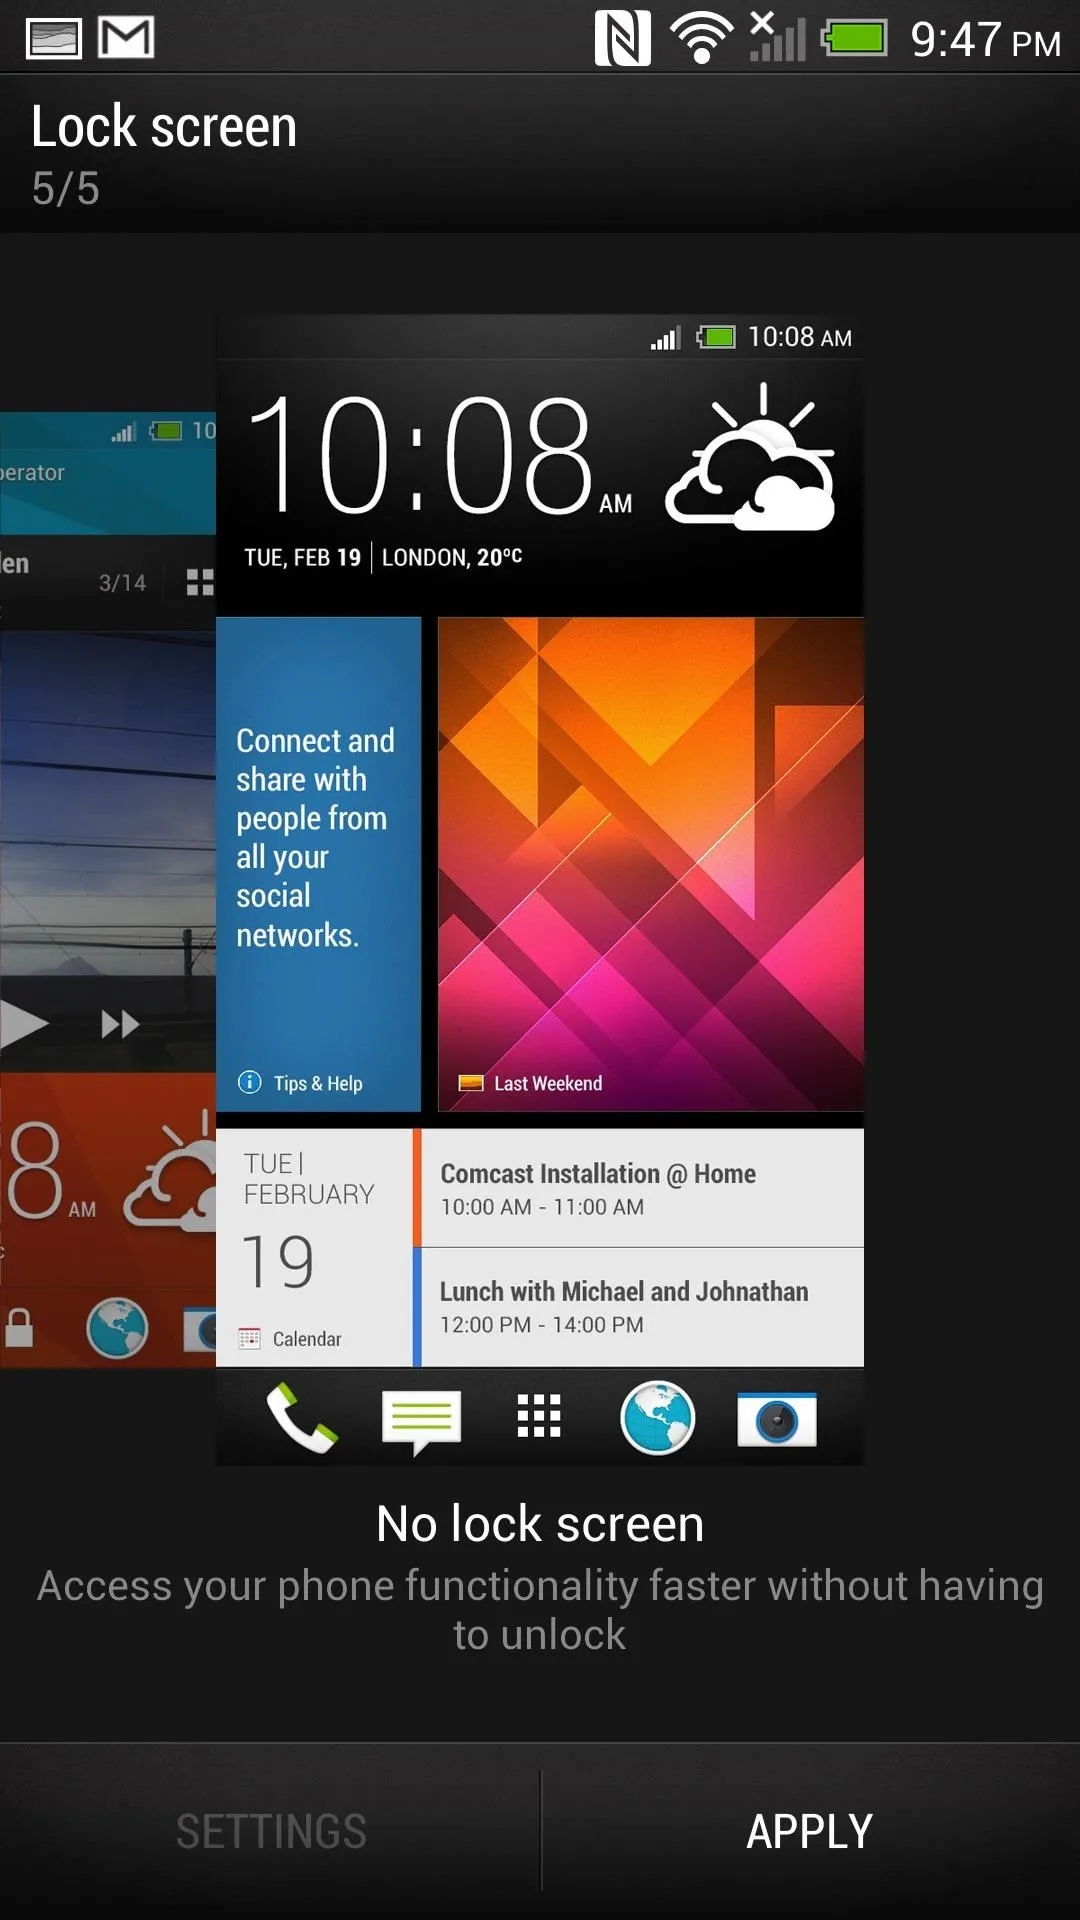
Go to Settings -> Personalize -> Lock screen style and select No lock screen.


Step 6: Enable USB Debugging
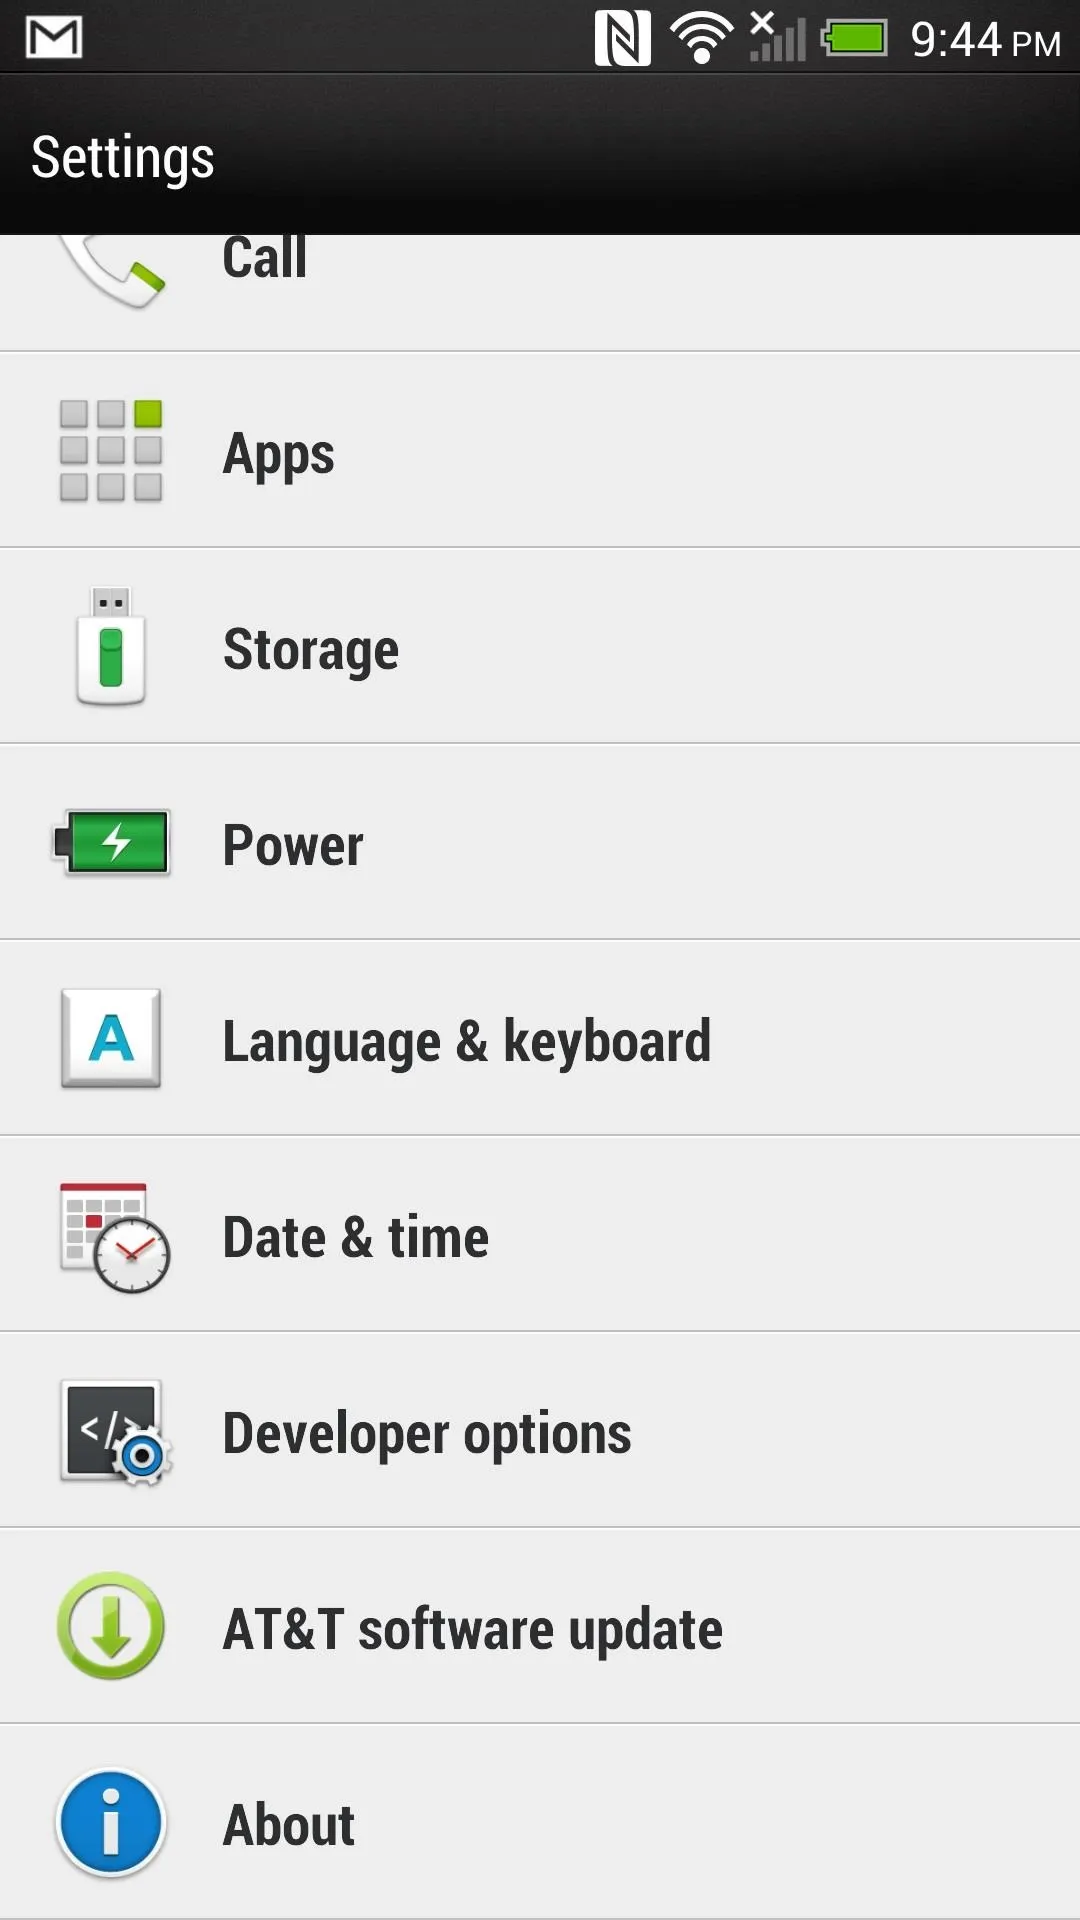
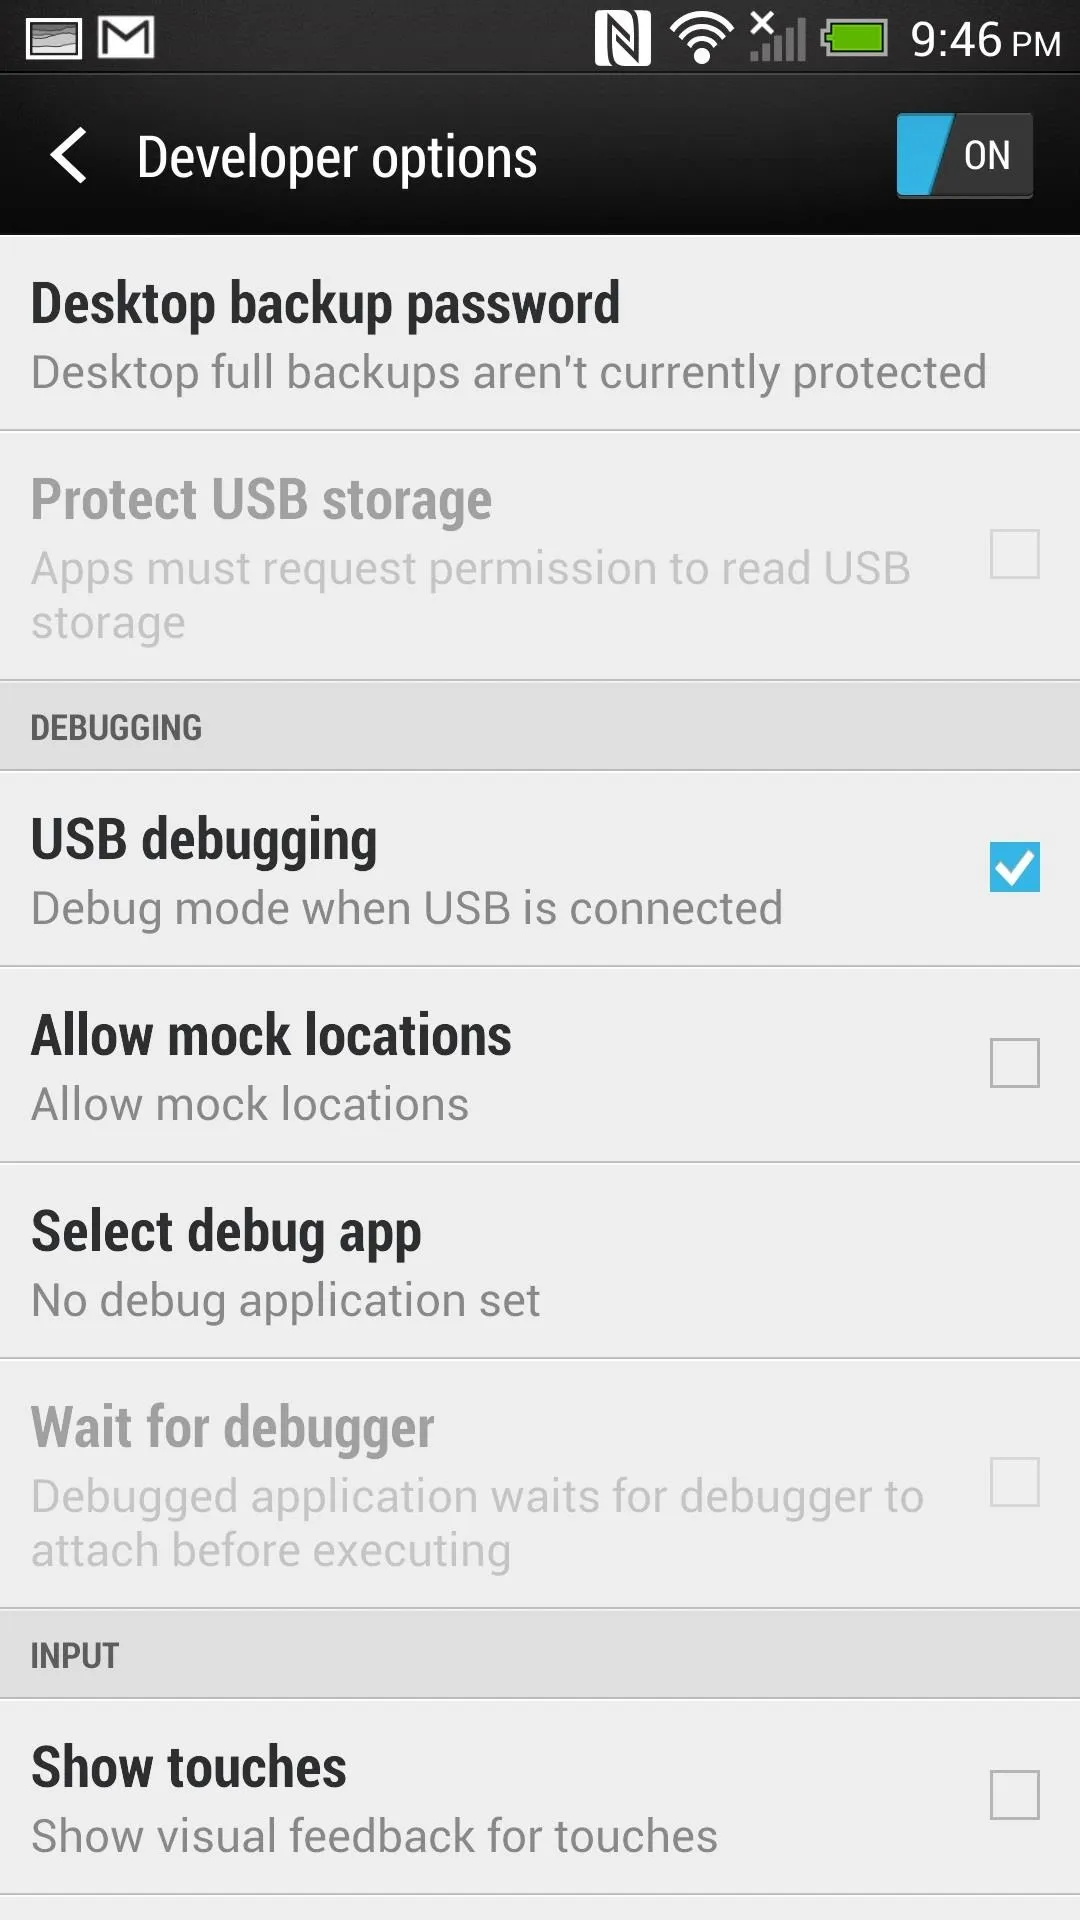
Go to Settings -> Developer Options, turn them on (the toggle is at the top right), and check the box next to USB debugging.


Step 7: Run Moonshine
Connect your HTC One to the computer, but stick to USB 2.0 ports (the newer 3.0 has connectivity issues). Run distiller.exe from the folder where you extracted Moonshine. Read all the messages and answer Yes to any prompts. It's pretty simple, but watch the video above for a full demonstration.
Step 8: Enjoy S-OFF! But Be Careful...
Having S-OFF will let you trick your HTC One into installing other phones' RUU files. As long as you only install compatible RUUs, you should be fine, but make sure to double check. This is how real bricks happen.



Comments
No Comments Exist
Be the first, drop a comment!