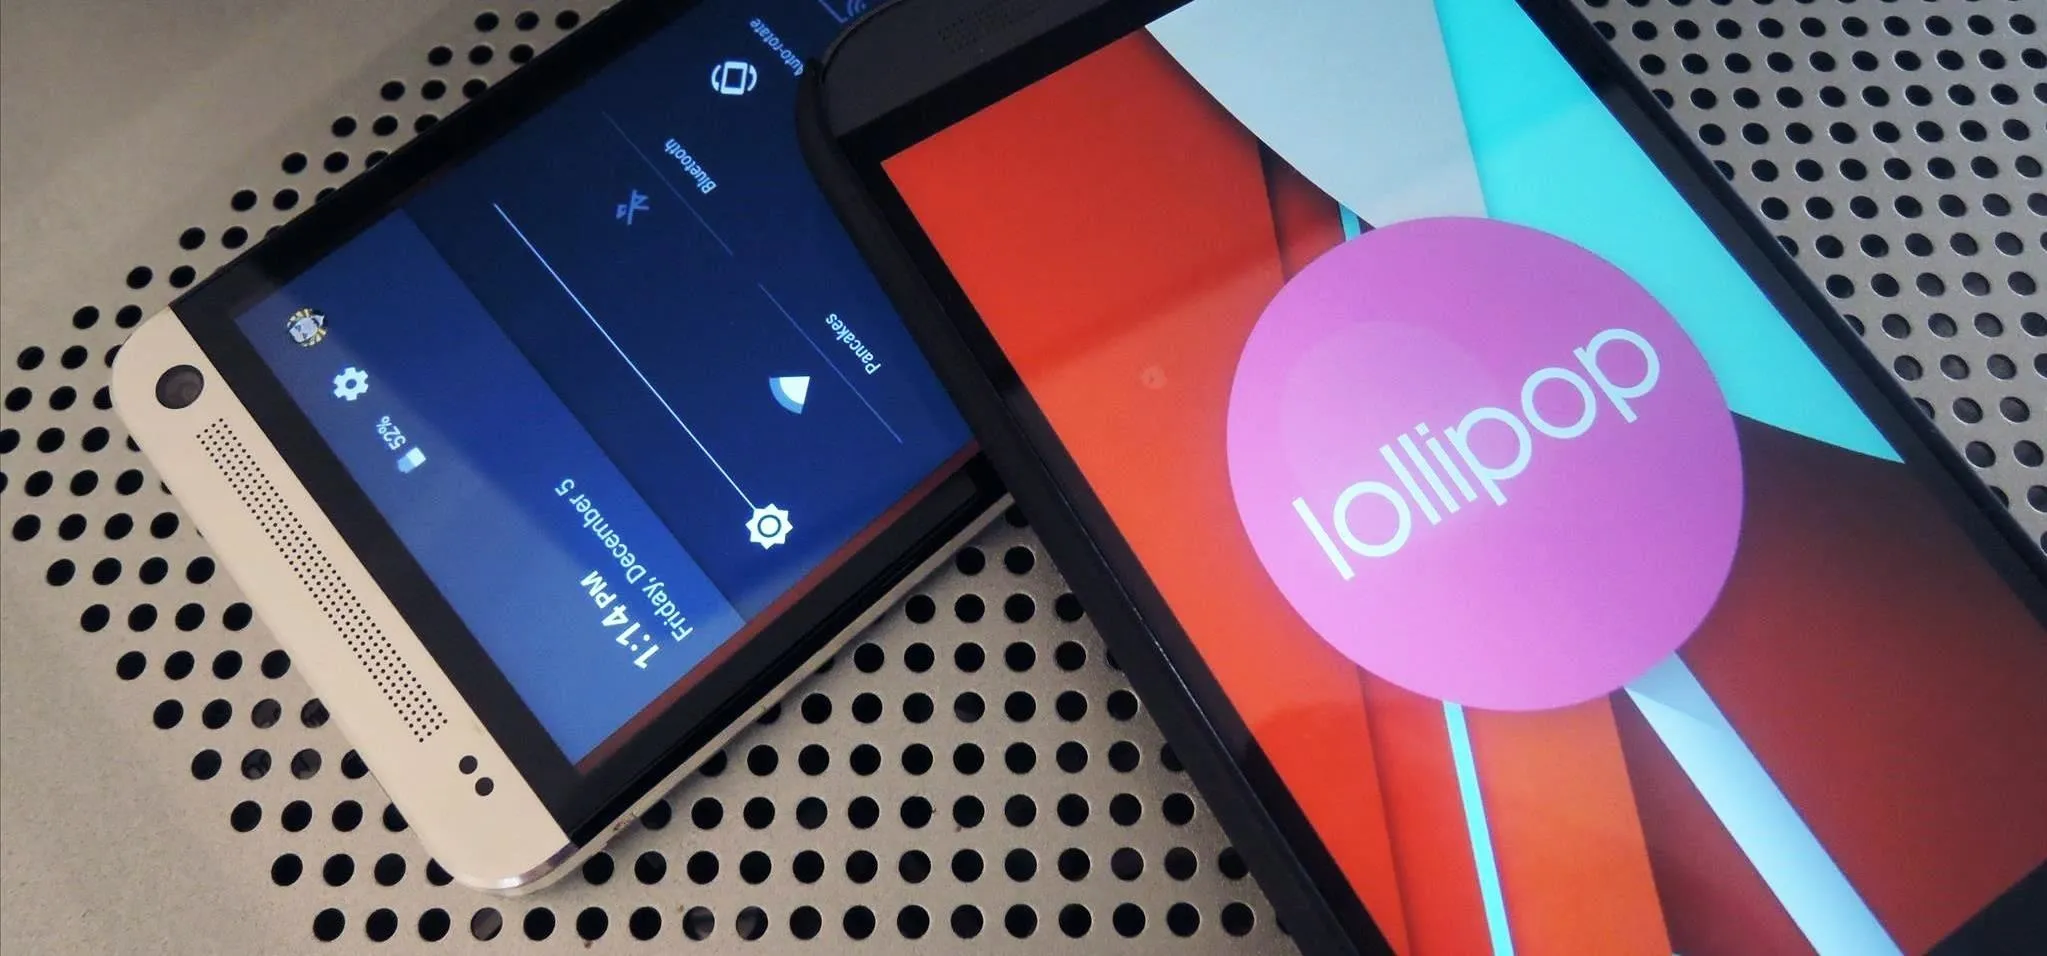
After a few unforeseen delays, the Android Lollipop update is finally here for Google Play Edition HTC Ones. This means that if you have an official GPE M7 or M8, or if you have simply converted your HTC One from a carrier-specific, Sense-based model to a Google Play Edition, you should be receiving an OTA notification shortly indicating an update.
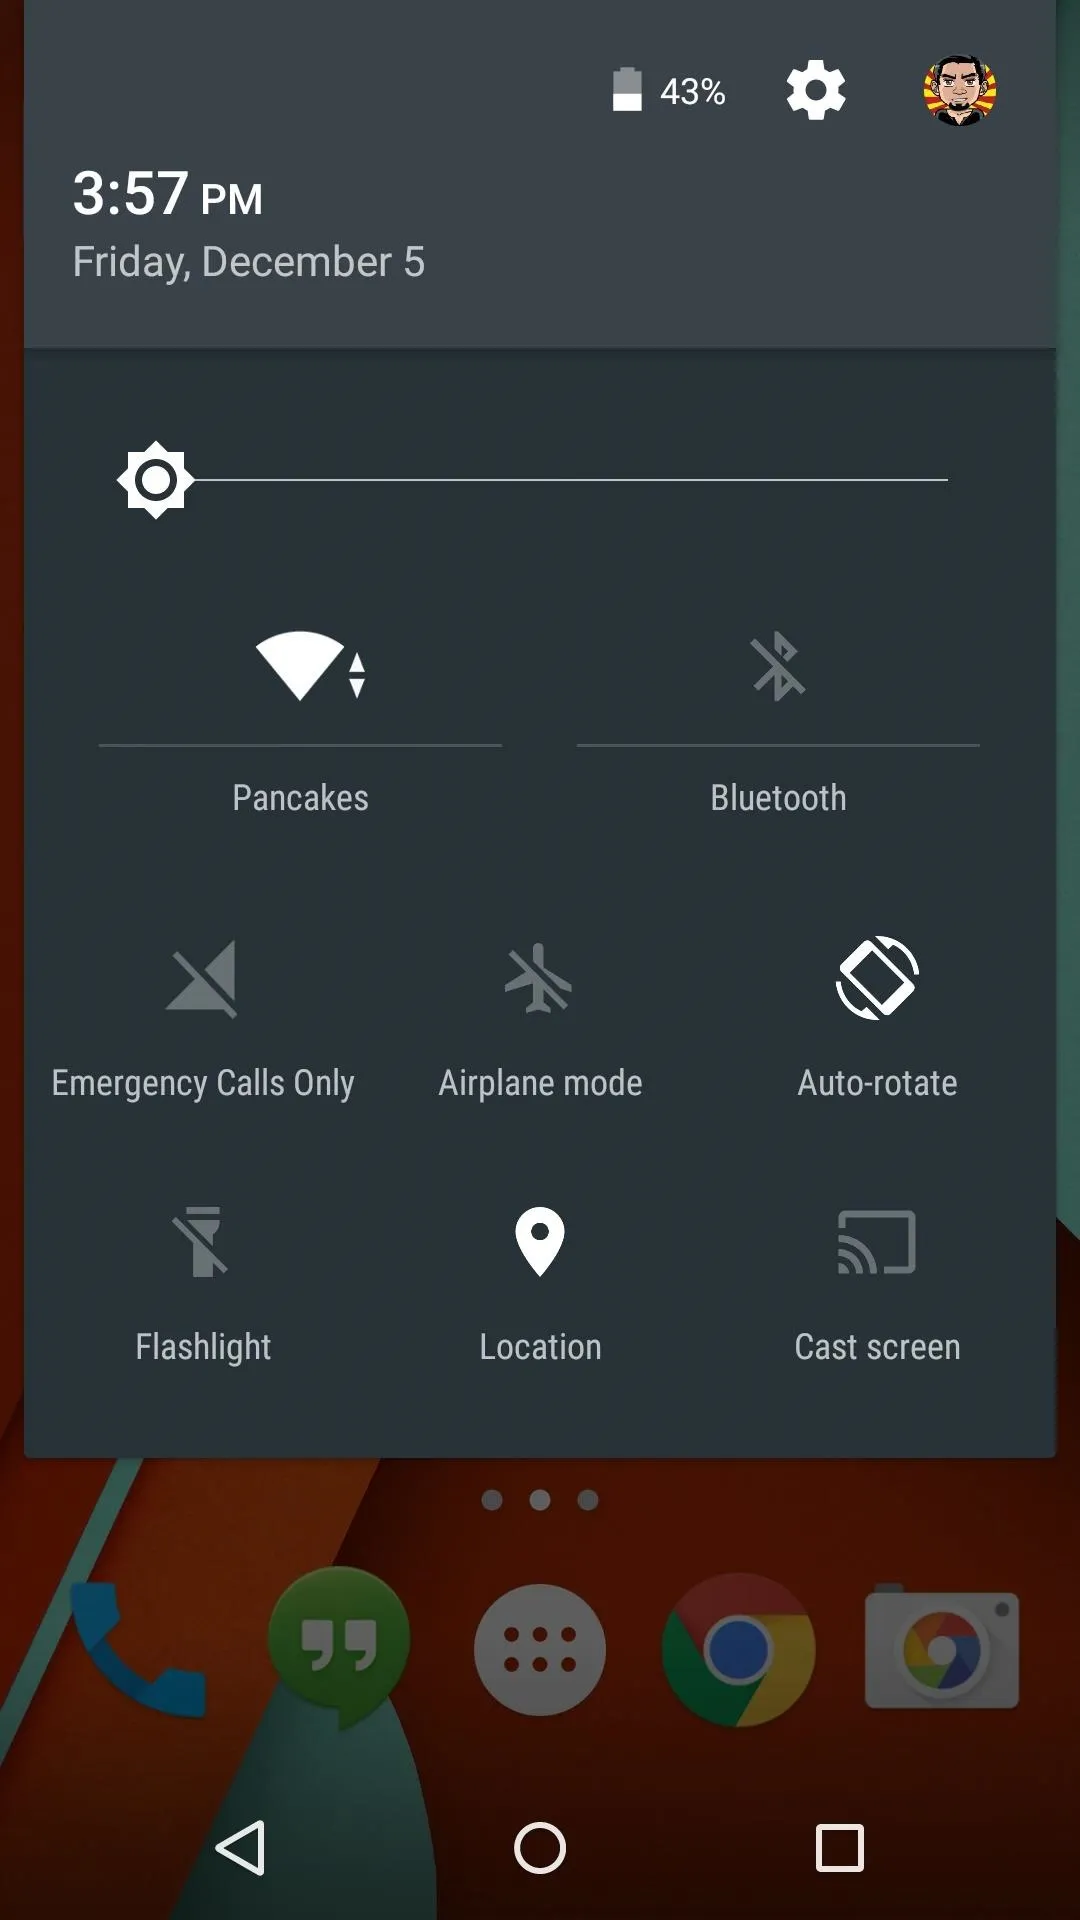
Android Lollipop comes with many new features, like a near-complete overhaul of the UI and a transition from the Dalvik runtime to ART, among the many changes in the OS. When you couple that with the work that has been done with Project Volta and its battery optimizations, you are in for a completely new experience on your HTC One.
Don't Miss: Android Lollipop—All the New Features You Need to Know About
Manually Updating to Lollipop
If you are running a completely stock GPE device, but still haven't received an OTA notification, there is still the option of manually installing the update. You'll just need to download the correct OTA file for your device running Android 4.4.4 KitKat and flash it in recovery.
Step 1: Download Your OTA File
Remember that these OTA files will only work on a device that is not rooted and has the stock recovery installed, so if you modified system files through root access or have a custom recovery installed, you'll need to wait for a flashable ROM (or reset your device to install the OTA as shown below).
The OTA can be downloaded directly to your phone, and if so inclined, you can rename it to something easy-to-find, like "update.zip."
All links are courtesy of GraffixNYC.
You may also want to back up all of your data before doing this in the unlikely event of something going wrong.
Step 2: Boot into Recovery
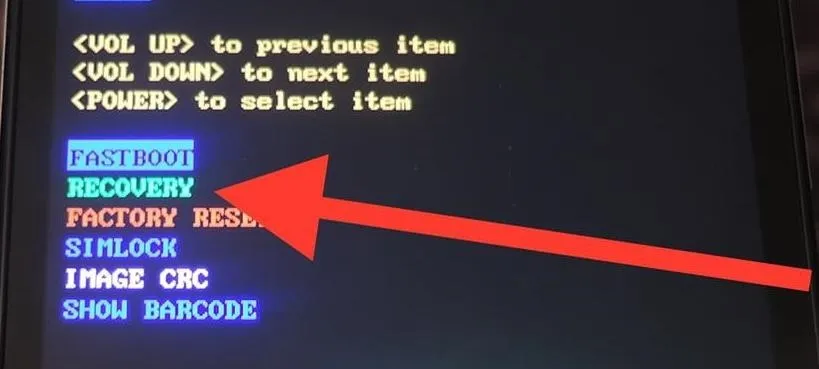
With the OTA file on your device, reboot into recovery mode to start the flashing process. The easiest way to get there is to completely power off your device and then power it back on while holding both the volume down and power buttons until you see the bootloader menu.
Scroll down to "Recovery" using the volume buttons, then press the power button to enter recovery mode. Once you see an Android lying on its back, hold the volume up button, then press the power button to access the recovery menu.
Step 3: Flash the OTA File
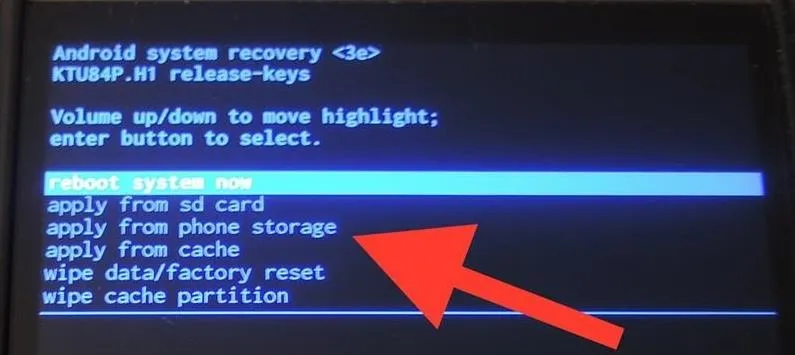
Use the volume keys to scroll down until you have "Apply from phone storage" highlighted, then press the power button to confirm your selection.
Use the volume and power keys again to scroll down to and select your OTA file (it should be in the /0/Downloads/ folder unless you moved it), then wait for the update to finish installing.
Step 4: Reboot & Explore the Update
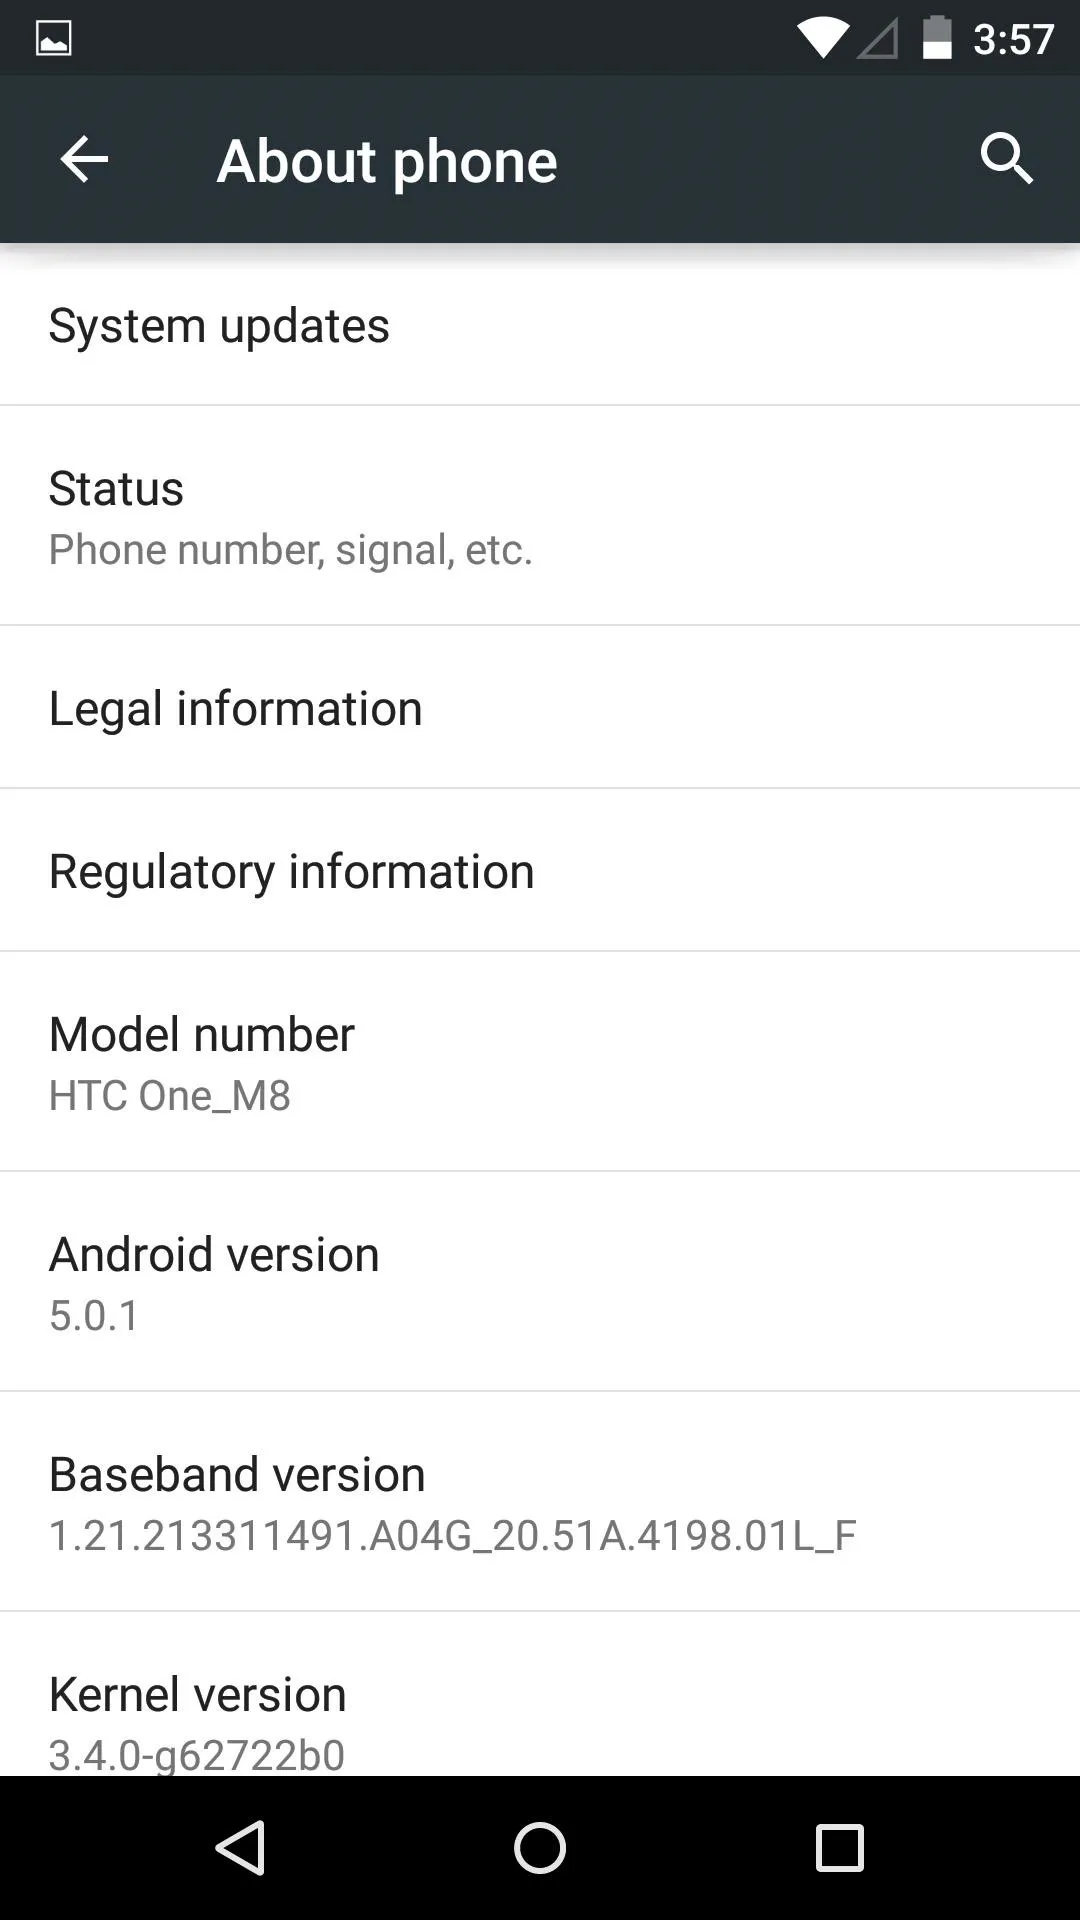
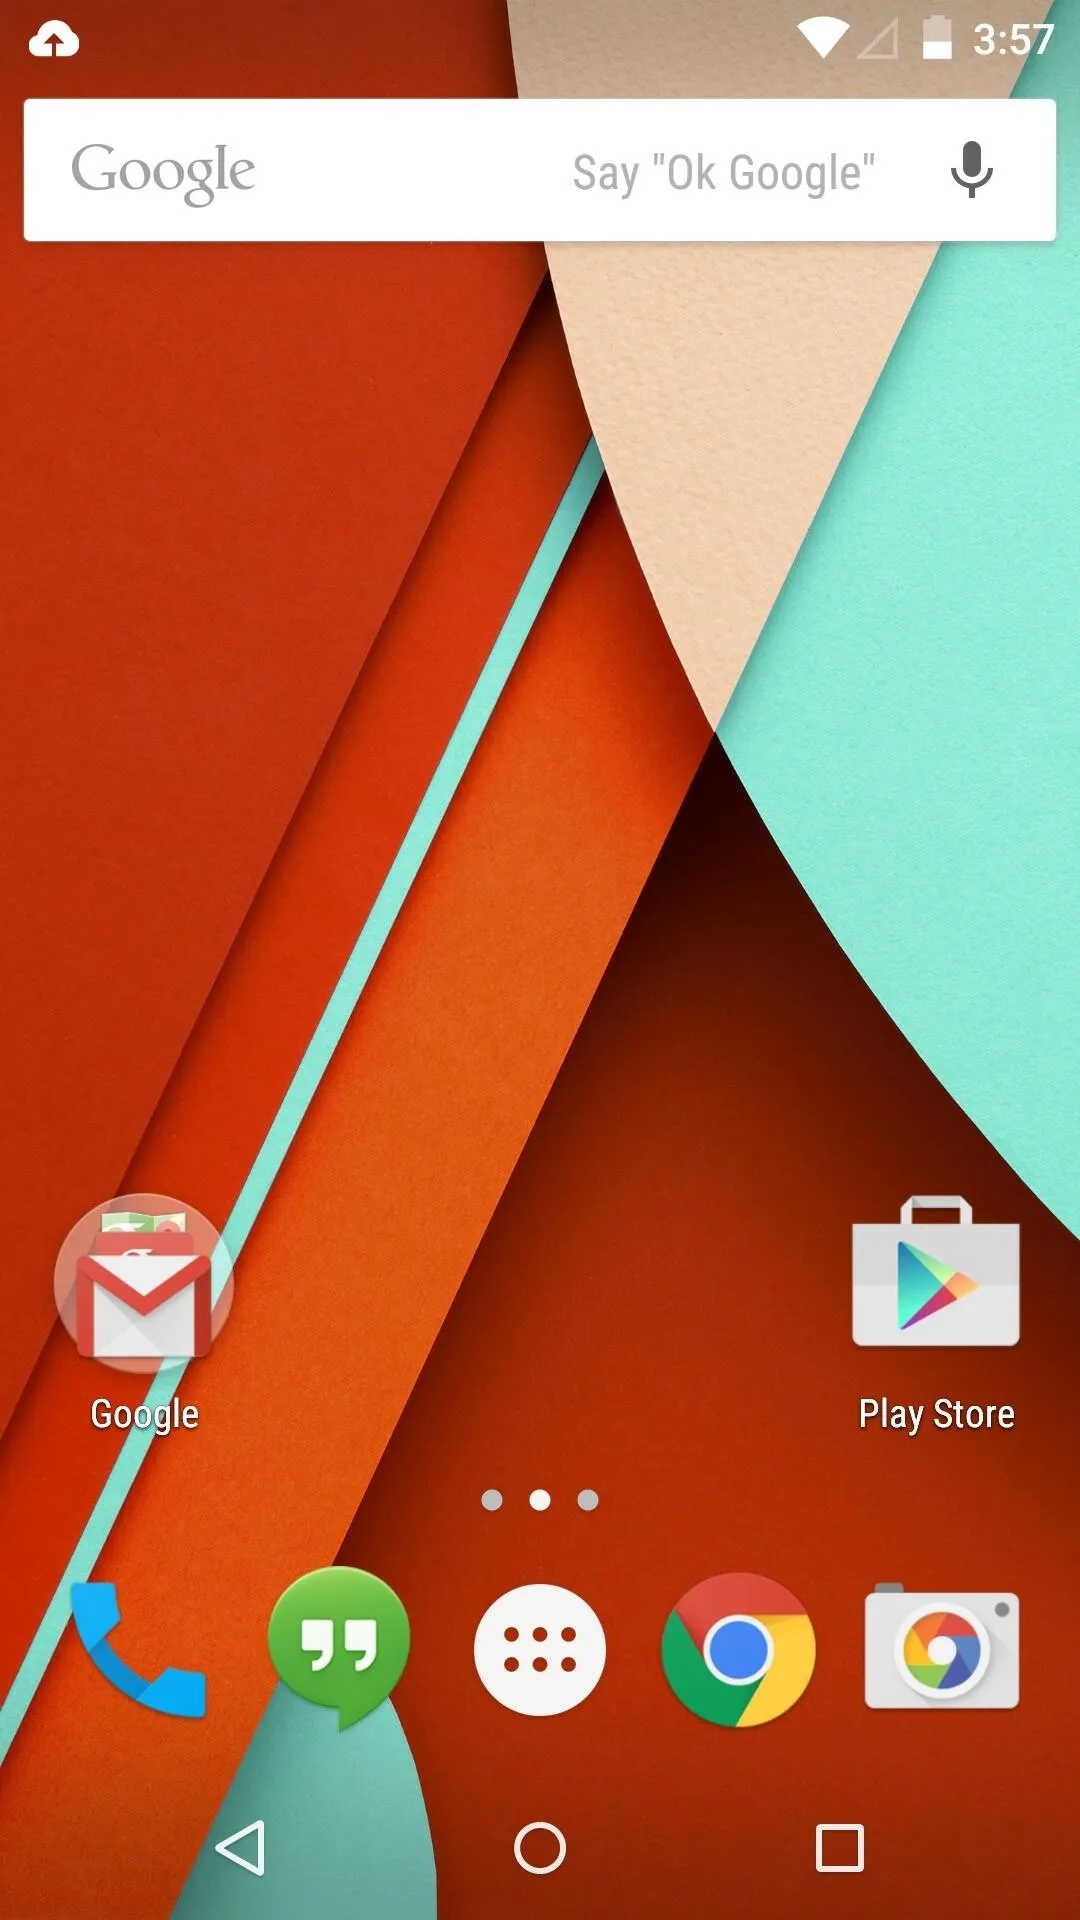
Reboot your device once the update is finished installing, after which you'll see the new Android Lollipop interface on your HTC One. To root your device, be sure to check out our always up-to-date rooting guide.


Converting from Sense to Vanilla Android
If you are still using the stock Sense ROM that came pre-loaded on your One, you'll get an update in the near future. Sense-based devices were promised Lollipop within 90 days of its initial release, so that means end of January or early February.
However, if you're tempted to see what all the fuss is about with Lollipop, you can always convert your device to a Google Play Edition variant. The process has not changed since KitKat, so grab either the rooted or un-rooted RUU below and flash it over using our guide.
Leave me a comment below if you run into any issues getting Lollipop up and running on your HTC One and I'll be sure to get you straightened out. Aside from that, enjoy the latest offering from Google and all the goodness that comes with it.


Comments
No Comments Exist
Be the first, drop a comment!