Ditching Sense (HTC's stock Android Launcher) is a great way to breathe new stock-like life into your HTC One smartphone without rooting, but even that has its limitations. If you really want the full Google experience, albeit with some extras, CyanogenMod has always been the go-to ROM. In effect, this will give you an experience similar to the Google Nexus or the new HTC One Google Edition.
To get CyanogenMod on your HTC One or other HTC device, you'll need to be rooted first with the TWRP recovery installed. You can find out how to do that in my rooting guide for the HTC One. After you're rooted, just follow these quick directions.
Step 1: Download CyanogenMod & Google Apps
On your computer, go to get.cm and download the newest nightly build for your device. The HTC One is known as the "m7", so find the m7 version that goes with your carrier. I'll be using the AT&T version.
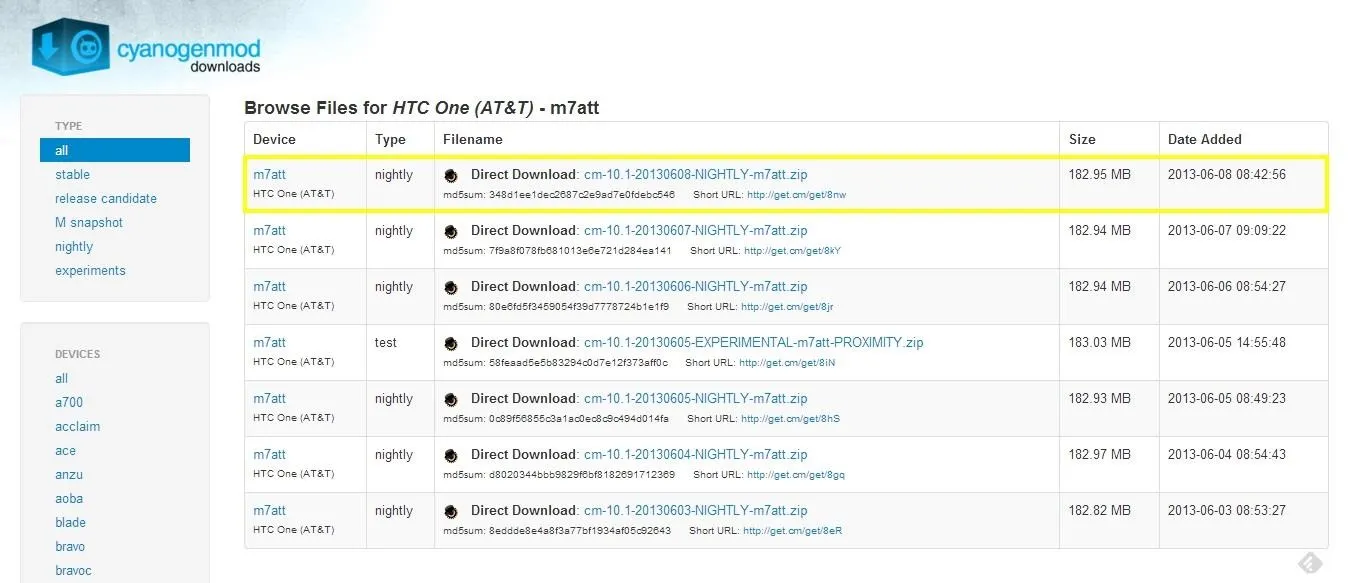
Next, to get access to Google Services (Play Store, Gmail, etc.), download the latest build for Android Jelly Bean onto your computer from Techerrata. These can be identified by the "gapps-jb" at the beginning of the file name.
Transfer the downloaded .zip files to your phone either over the air or using a USB cable.
Step 2: Backup!
If you haven't already, create a backup of your phone in case you have any problems with CyanogenMod. Instructions for doing this using TWRP can be found on our rooting guide.
Step 3: Wipe Your Device
Before you can install CyanogenMod, you'll need to reformat your device. Press and hold Power and Volume Down simultaneously to boot into the bootloader.
Next, press Volume Down to highlight Recovery, then press Power again. When TWRP loads, tap Wipe and swipe to confirm.
Step 4: Install CyangenMod & Google Apps
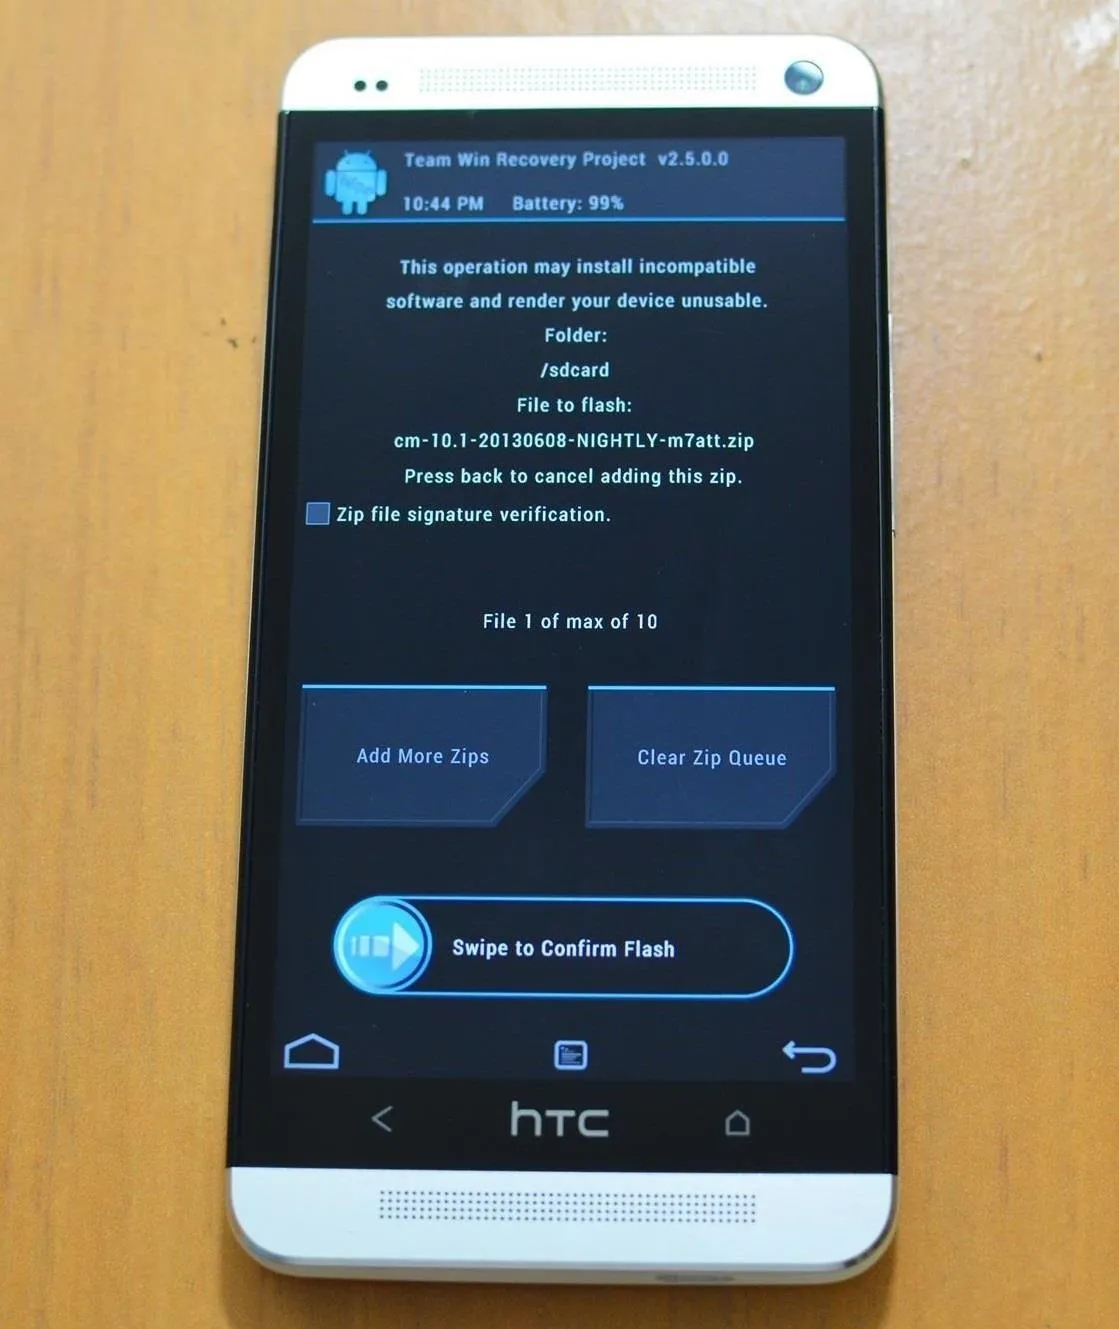
Go back to TWRP's main menu and tap Install. Navigate to the directory where you copied the CyanogenMod and Google Apps files. Mine are on the root of the internal storage (not inside any folder).
Tap the CyanogenMod zip, then tap Add More Zips. Navigate to the directory where the Google Apps are, and this time, tap the gapps file, then swipe to confirm.
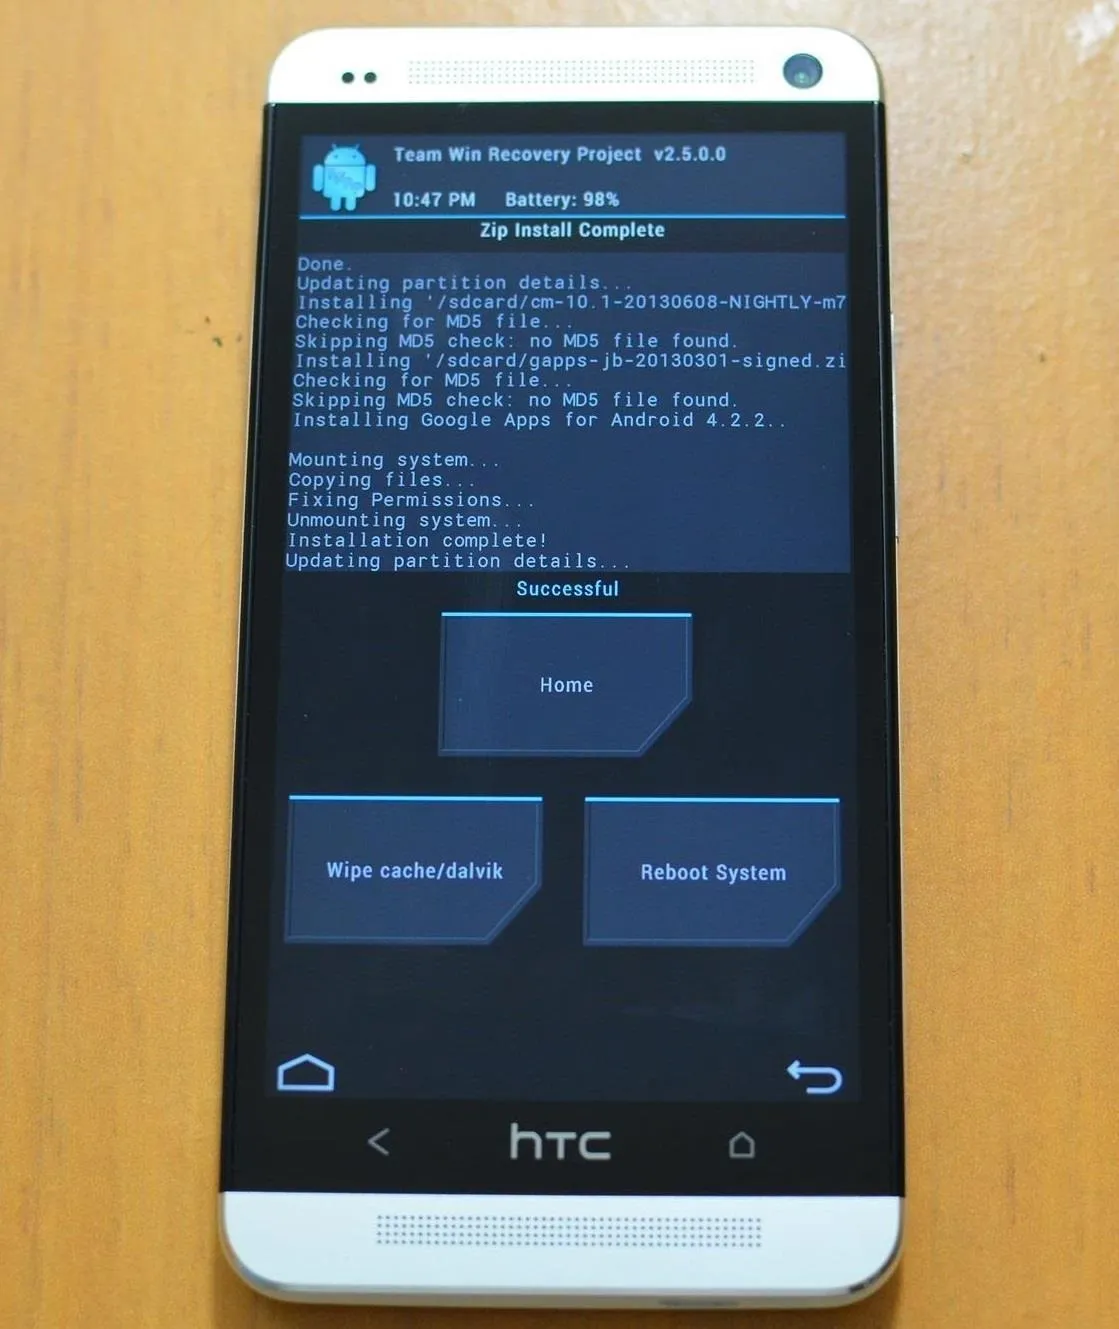


When it's done, select Reboot System.
Step 5: Personalize
Now that you're on Android 4.2.2, you have more options in terms of widgets and other customizations. My favorite is DashClock because you can find tons of extensions for it on Google Play. By itself, it will show you weather, SMS and Gmail counts, the next alarm, calendar entries, and of course, the time. That's a lot of info for a 4x2 space!
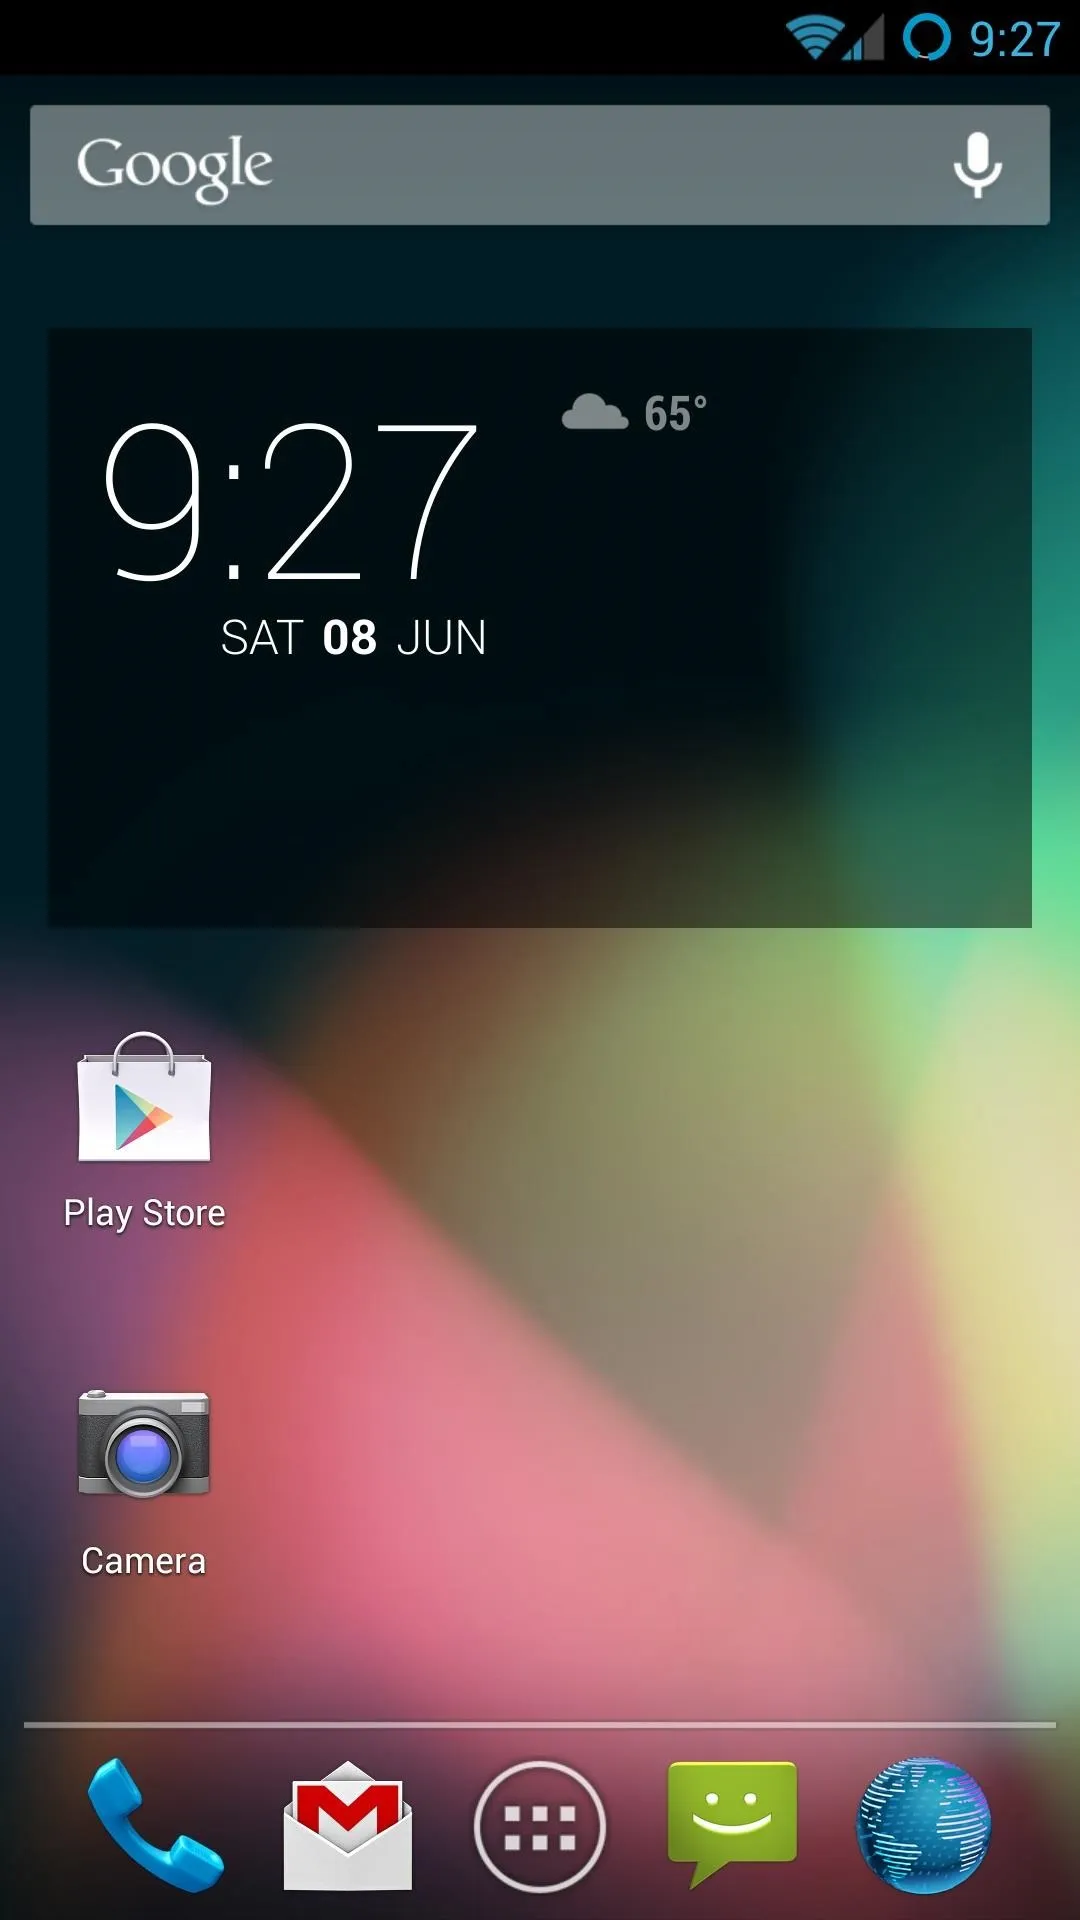
That's just one app, but now that you're on the newest version of Android, your app selection won't be limited by how old your device is. If you've got a favorite customization, be sure to let us know about it in the comments section.



Comments
No Comments Exist
Be the first, drop a comment!