Keeping prying eyes off your device isn't always the easiest thing to do, especially once you lend somebody your phone to make a call. Seems that whenever someone is scrolling through your pictures or checking out your new phone, they always end up somewhere you don't want them be. You could always hover over their shoulder to make sure they're not getting into your texts or photos, but that isn't always possible.
ProtectedApps, created by developer defim, aims at alleviating that worry. With this Xposed module, you're able to add an extra level of security to your device by locking down certain apps.
While there are other tools out there that let you password-protect individual apps, like AppLock and Smart App Lock, ProtectedApps goes a step further allowing you to not only lock third-party apps, but system apps, as well.
This does require you to have an HTC One with root privileges (or another rooted Android device) as well as the Xposed Framework, so be sure to get that out of the way before starting.
Step 1: Installing ProtectedApps
Open up the Xposed Installer, tap Download, and search for ProtectedApps. Once the download finishes, tap Activate & Reboot from the notification shade.
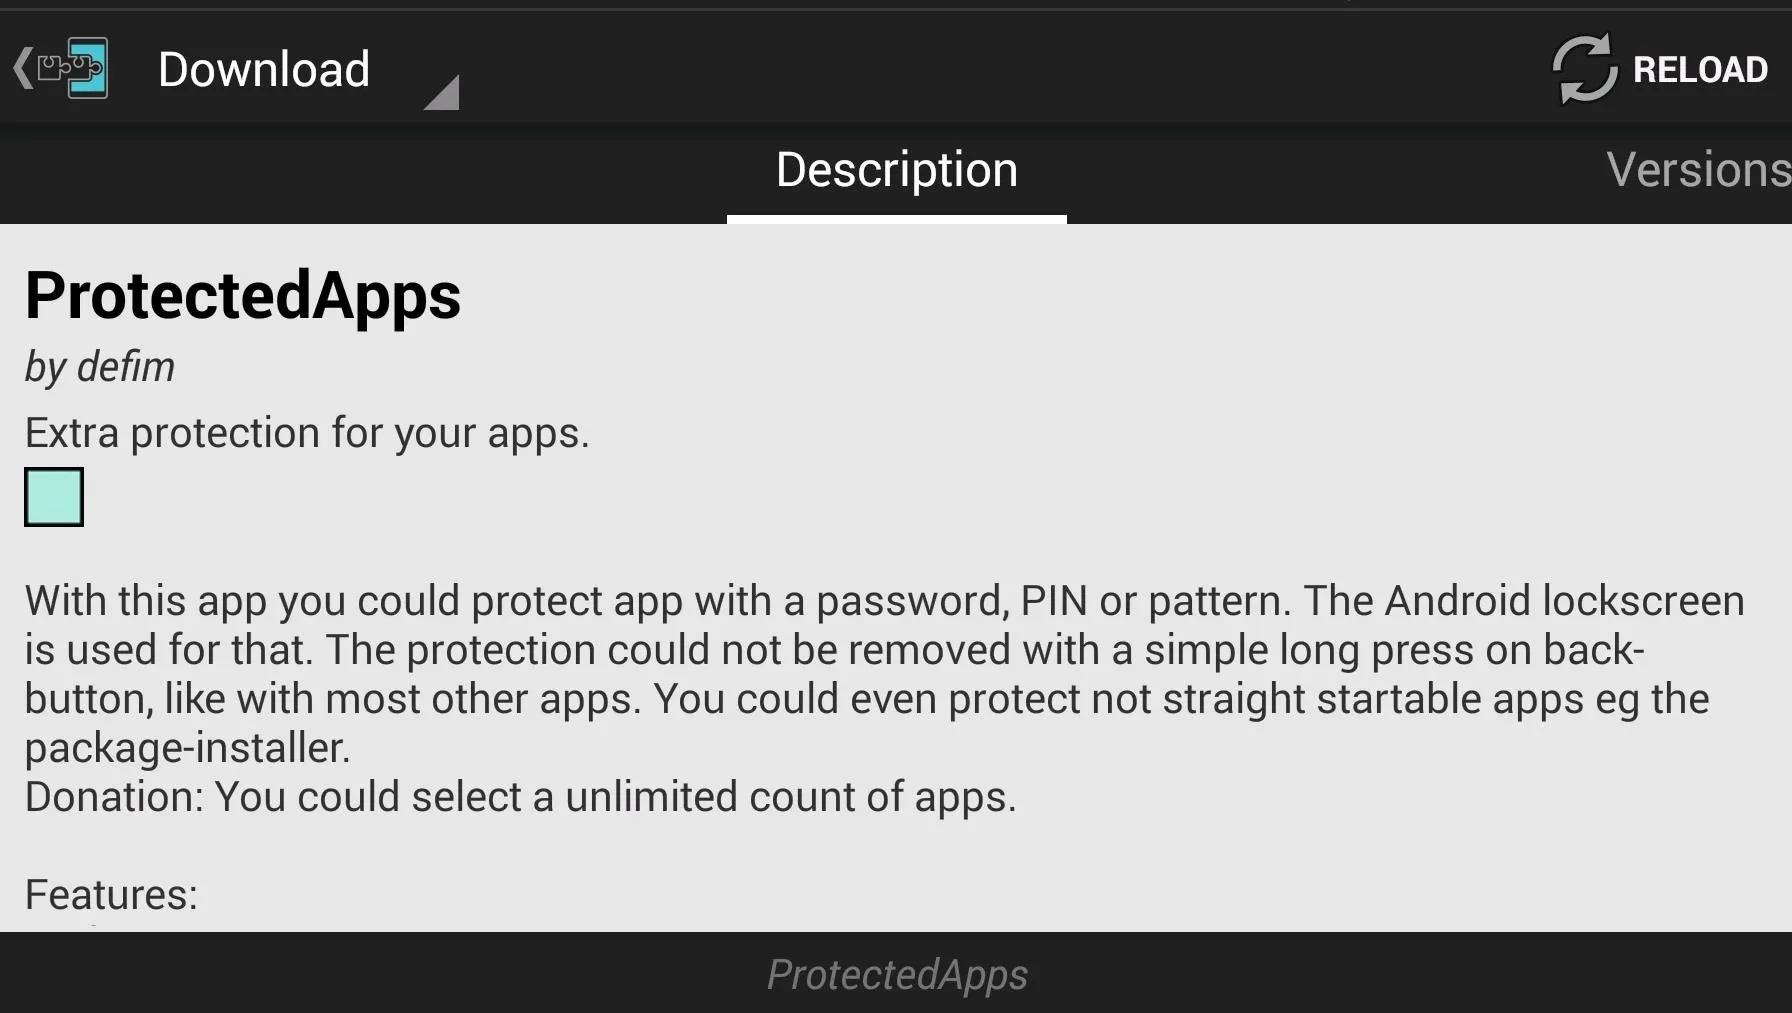
Alternatively, you can install the module directly from the Google Play Store.
Step 2: Locking Your Apps
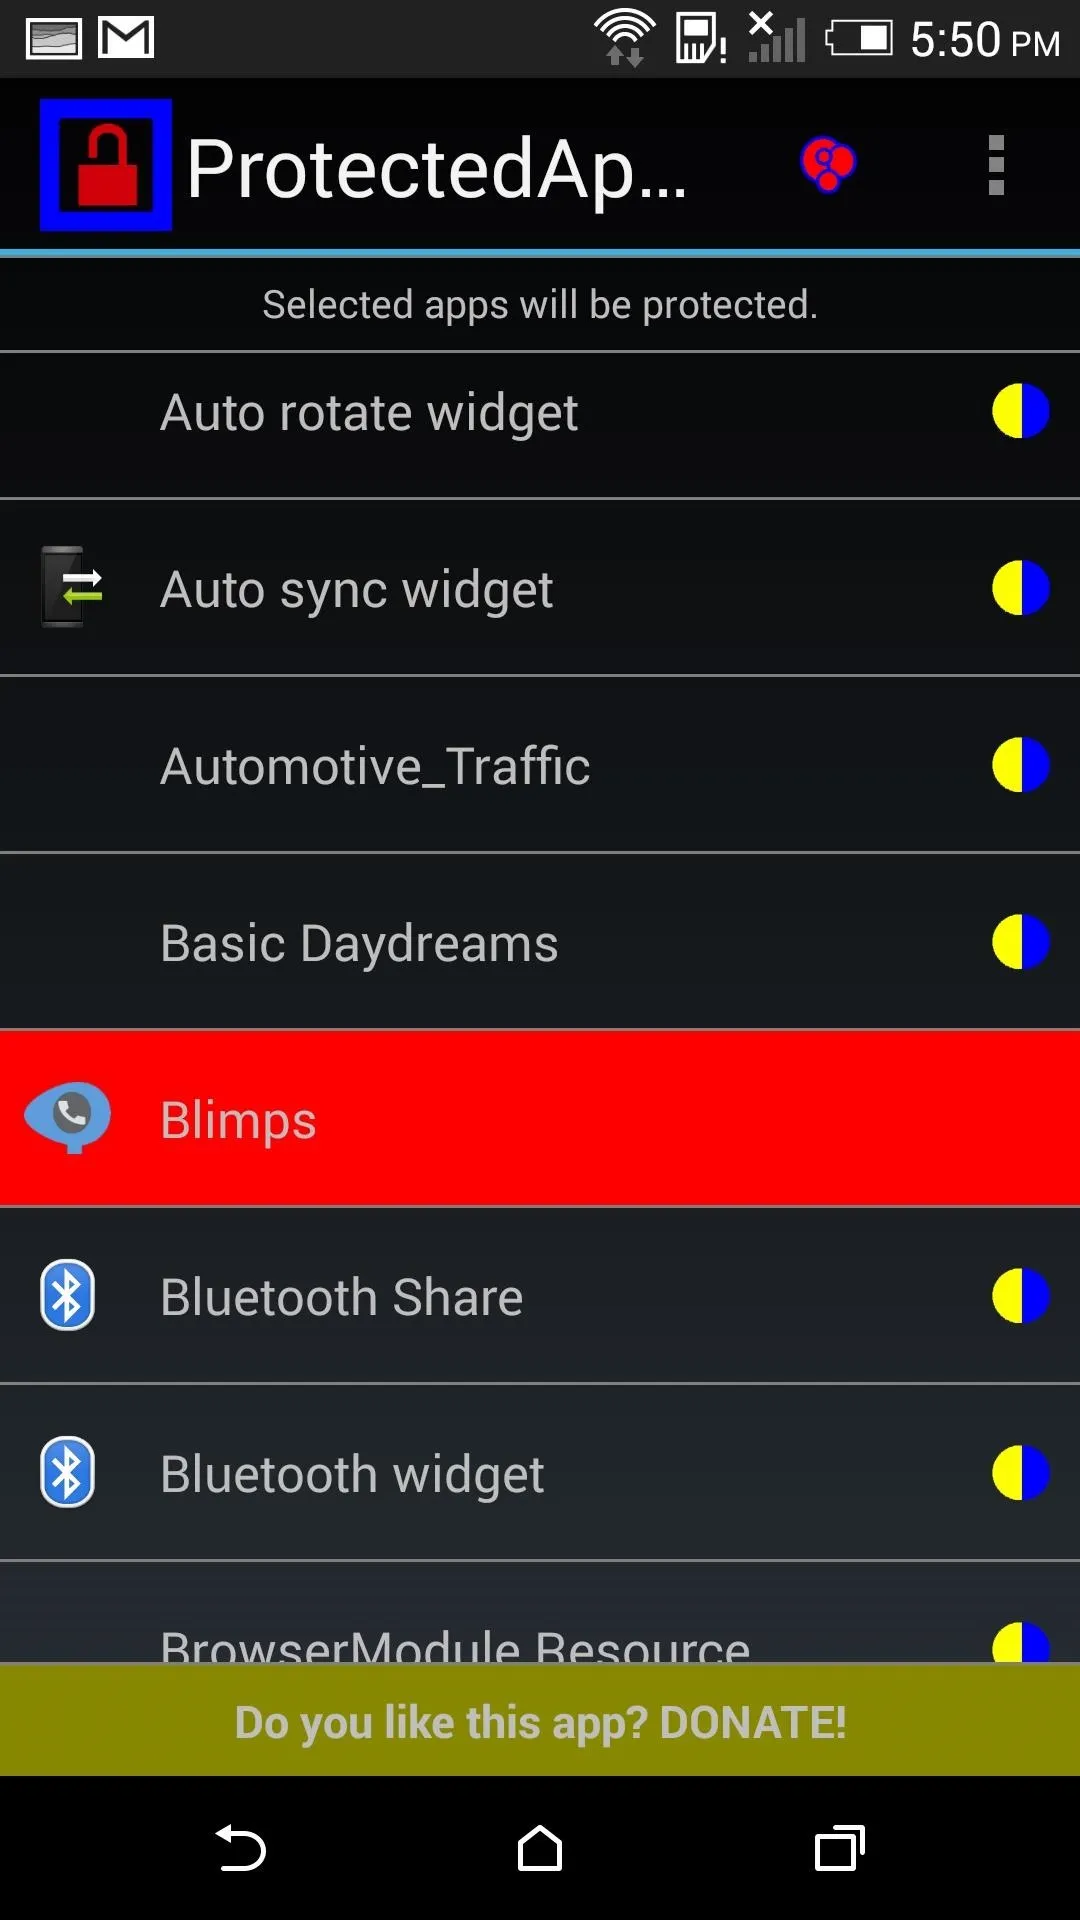
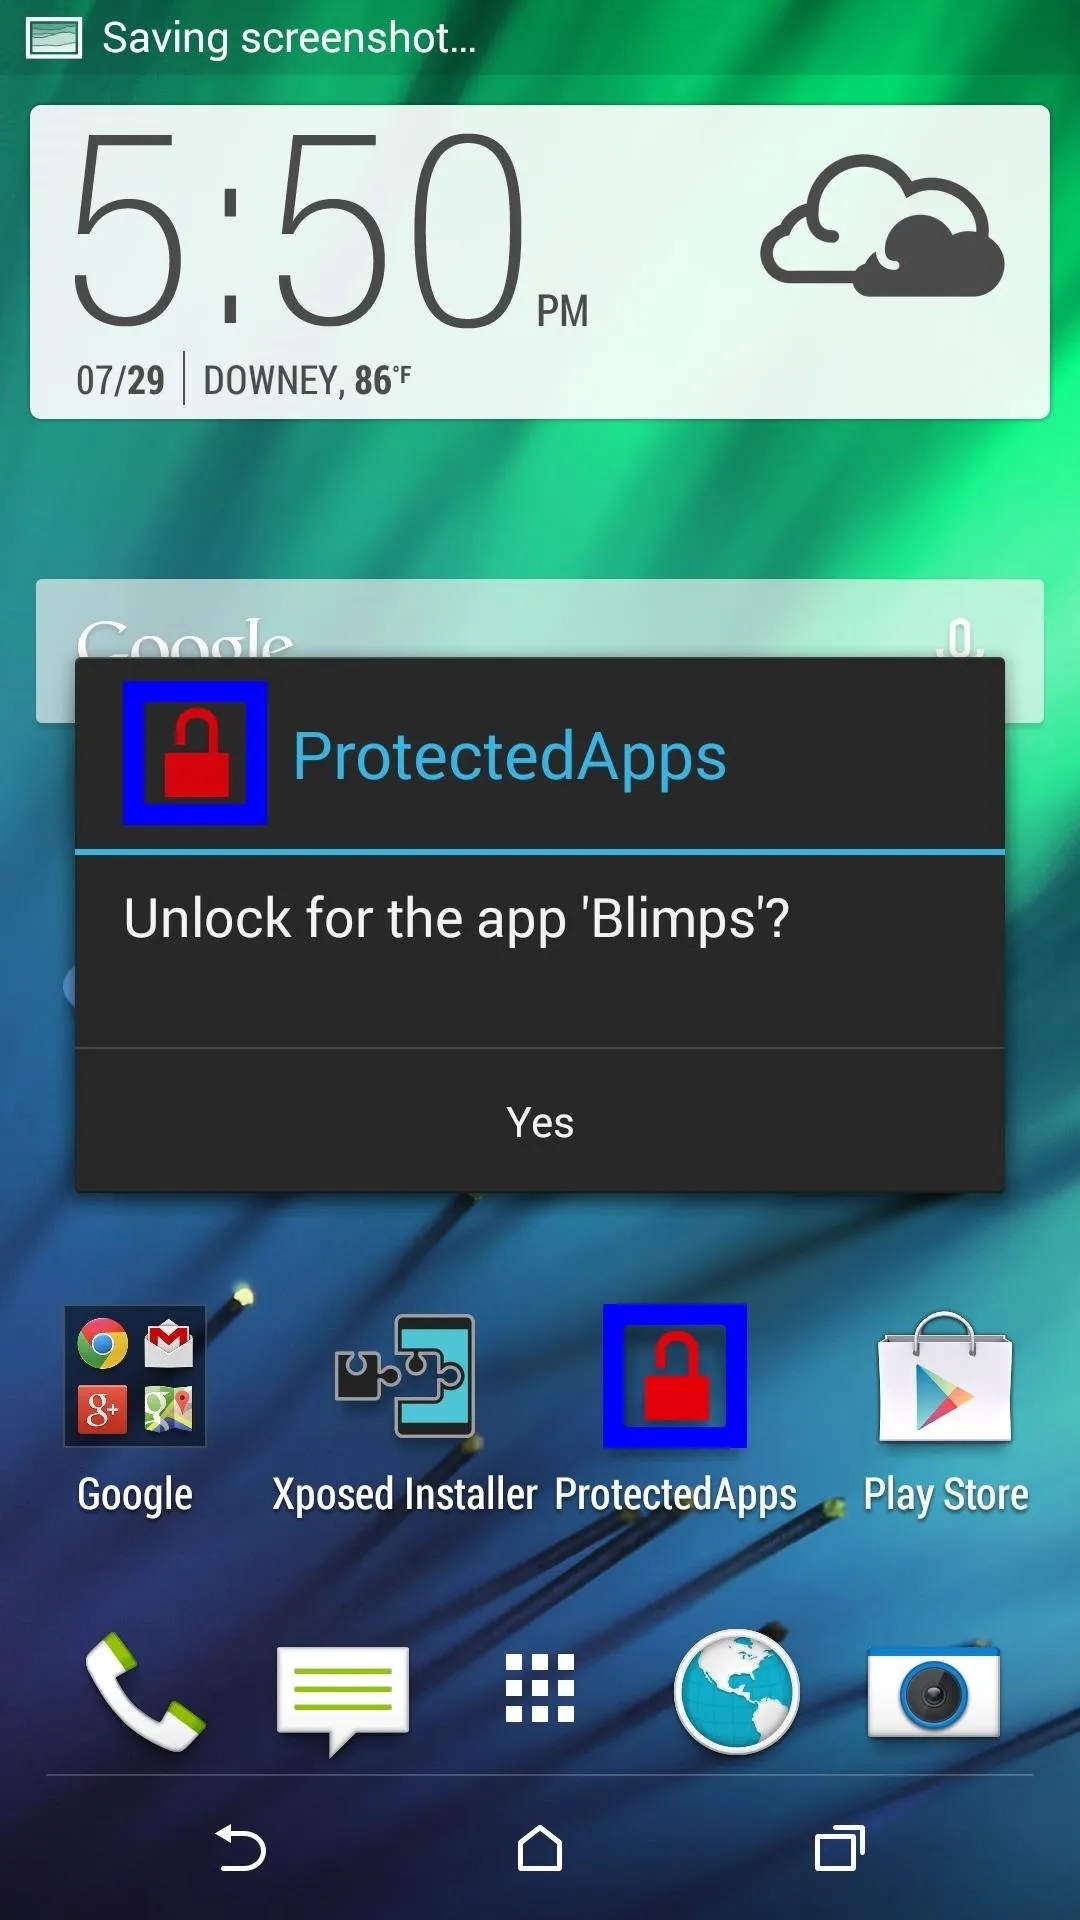
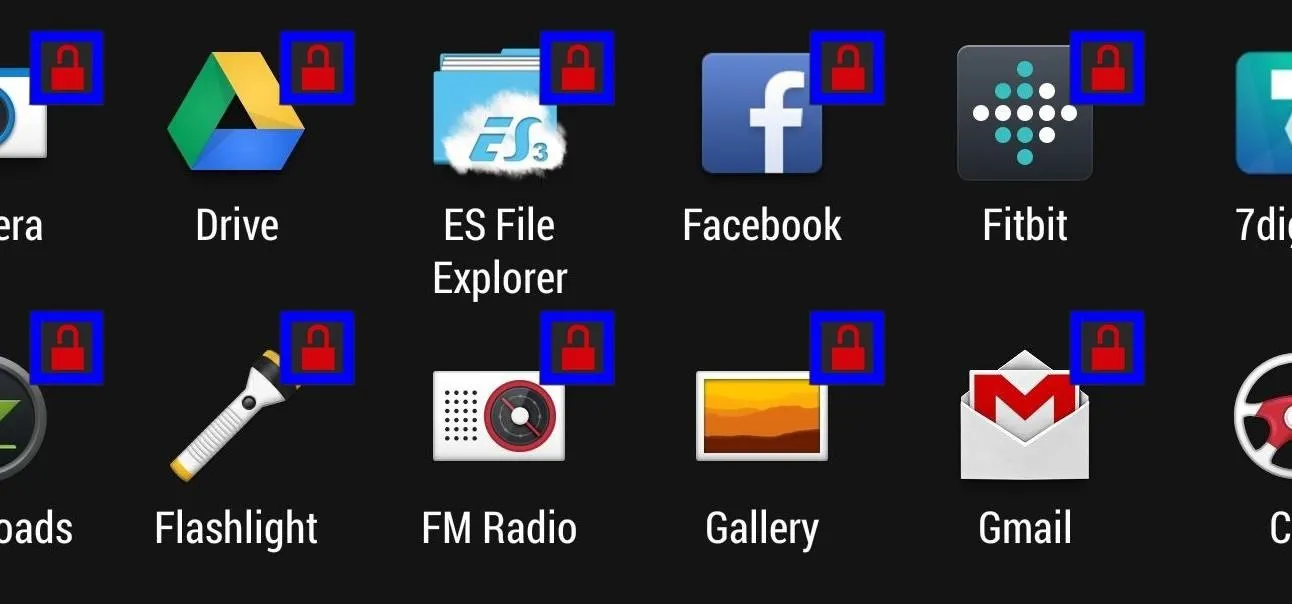
ProtectedApps gives you a list of all the apps on your device, and once you tap on one, it will be locked. The free version allows you to protect up to 5 apps, but if you want to go beyond, opt for the full version via an in-app purchase of $3.41.


Step 3: Hiding the Icon & Notification
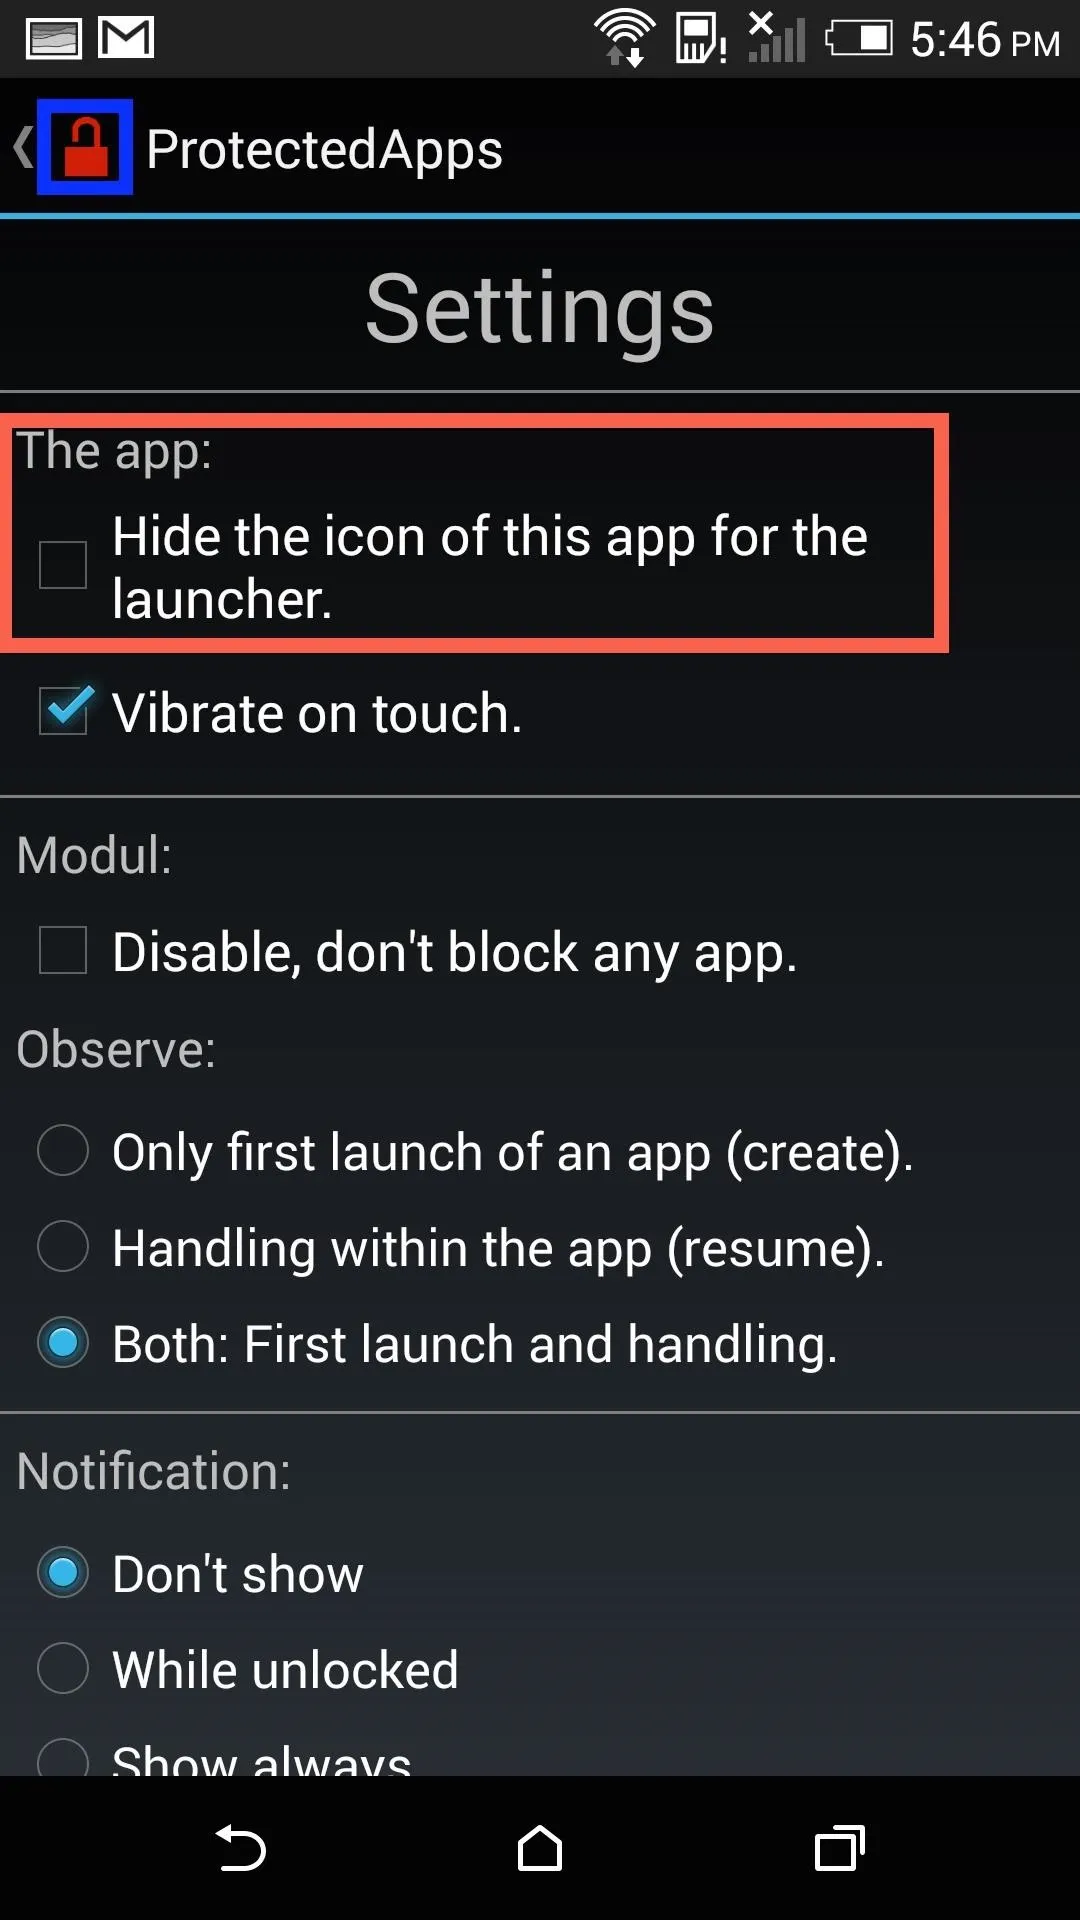
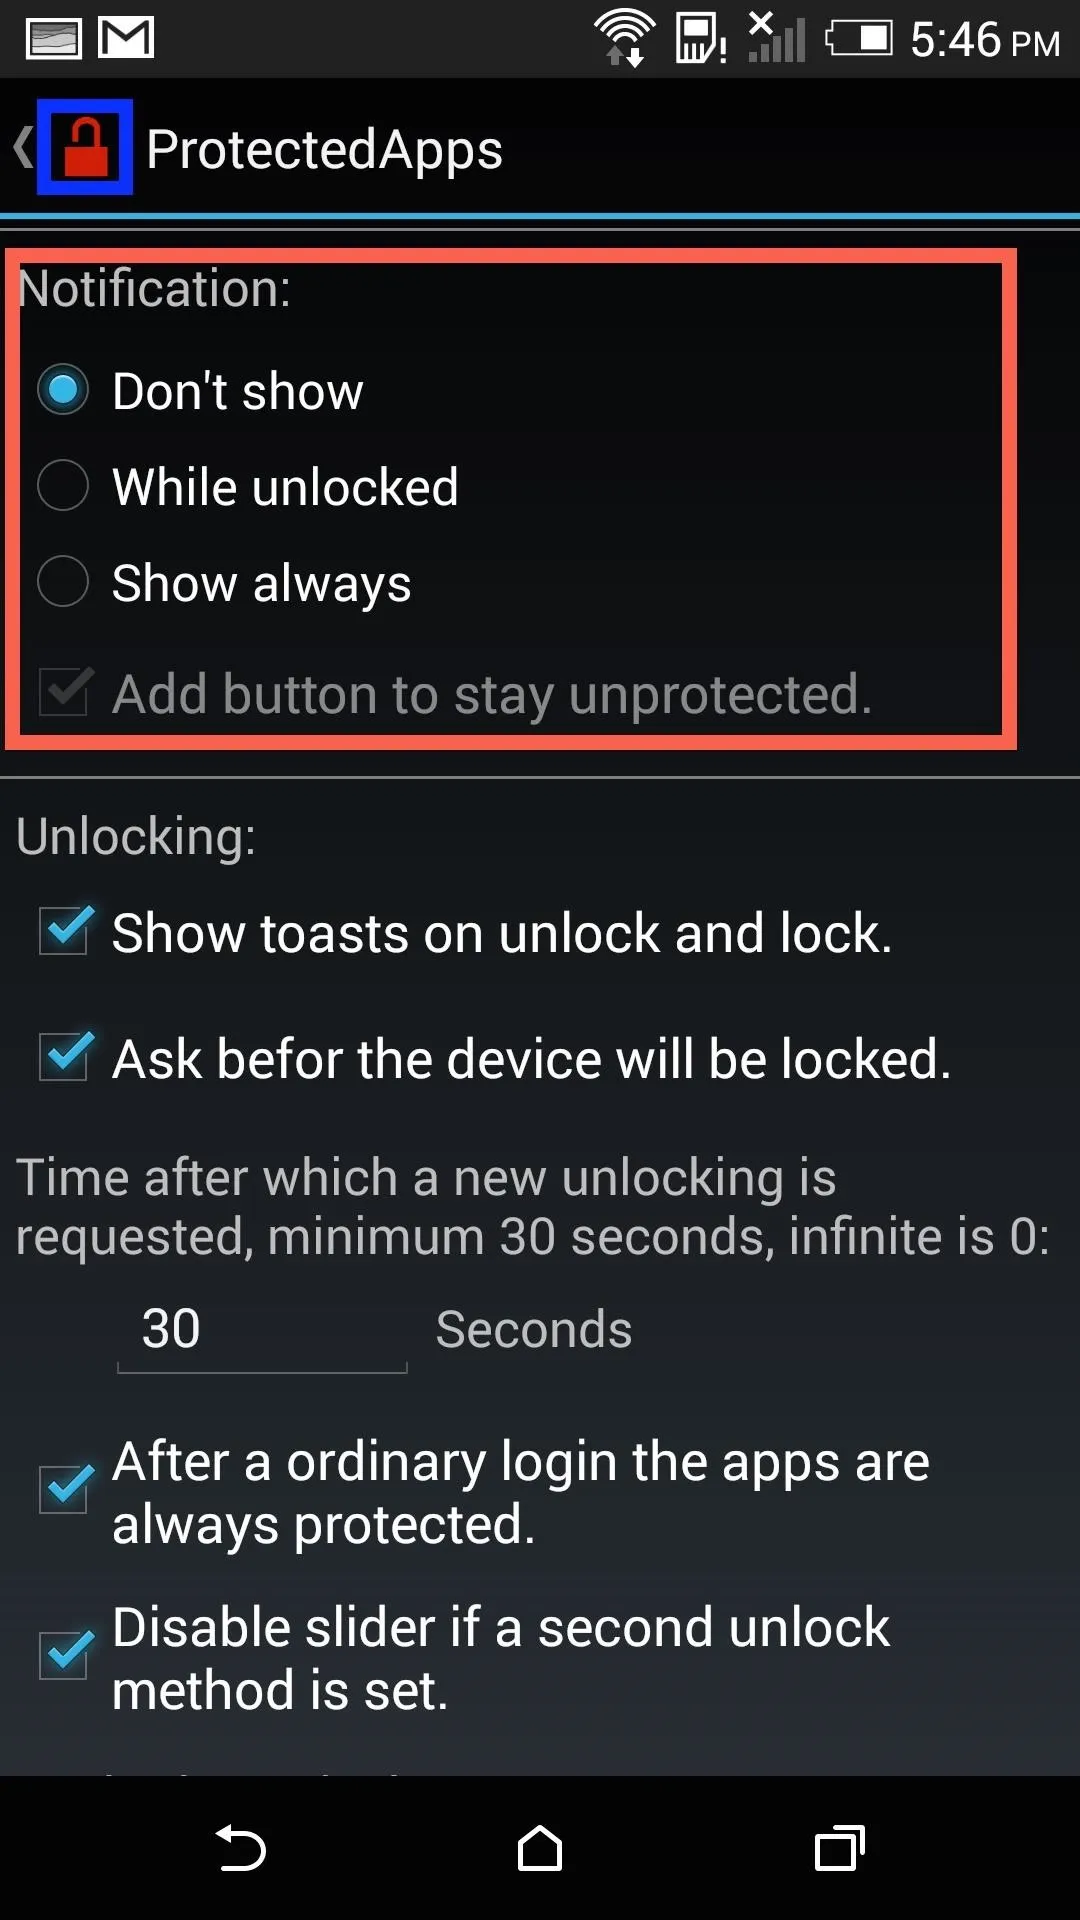
From the Settings, you can hide the launcher icon, but if you do that, you will need to open ProtectedApps directly from the Modules section of Xposed every time you need to. You also have the option to hide the unlock notification icon which is displayed whenever you unlock an app.


Step 4: Using Your Current Lock-Screen Protection
ProtectedApps says that it can add custom PINs, passwords, and patterns, but on Sense devices, that is not the case. Right now it has to be the same security settings as your lock screen, so select Don't change.
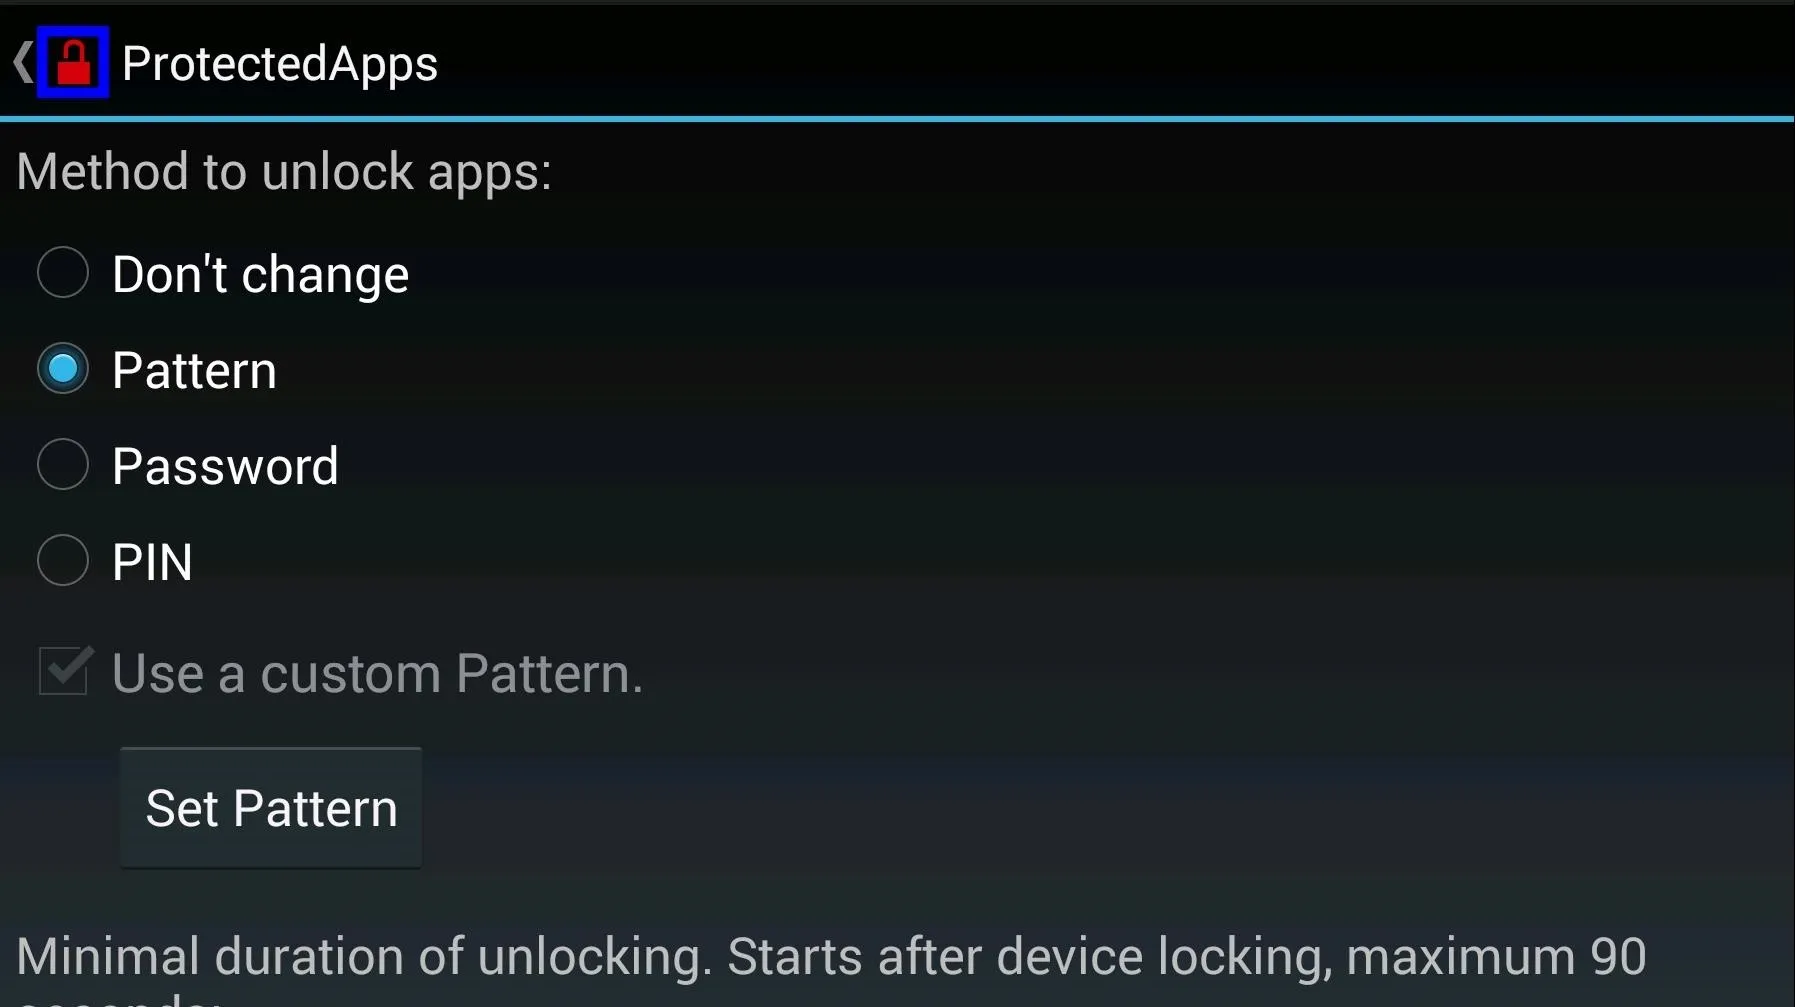
This can be a deal-breaker for some, but if you're willing to flash a custom ROM like CyanogenMod, you will regain full functionality.
Step 5: Setting Up the Time Options
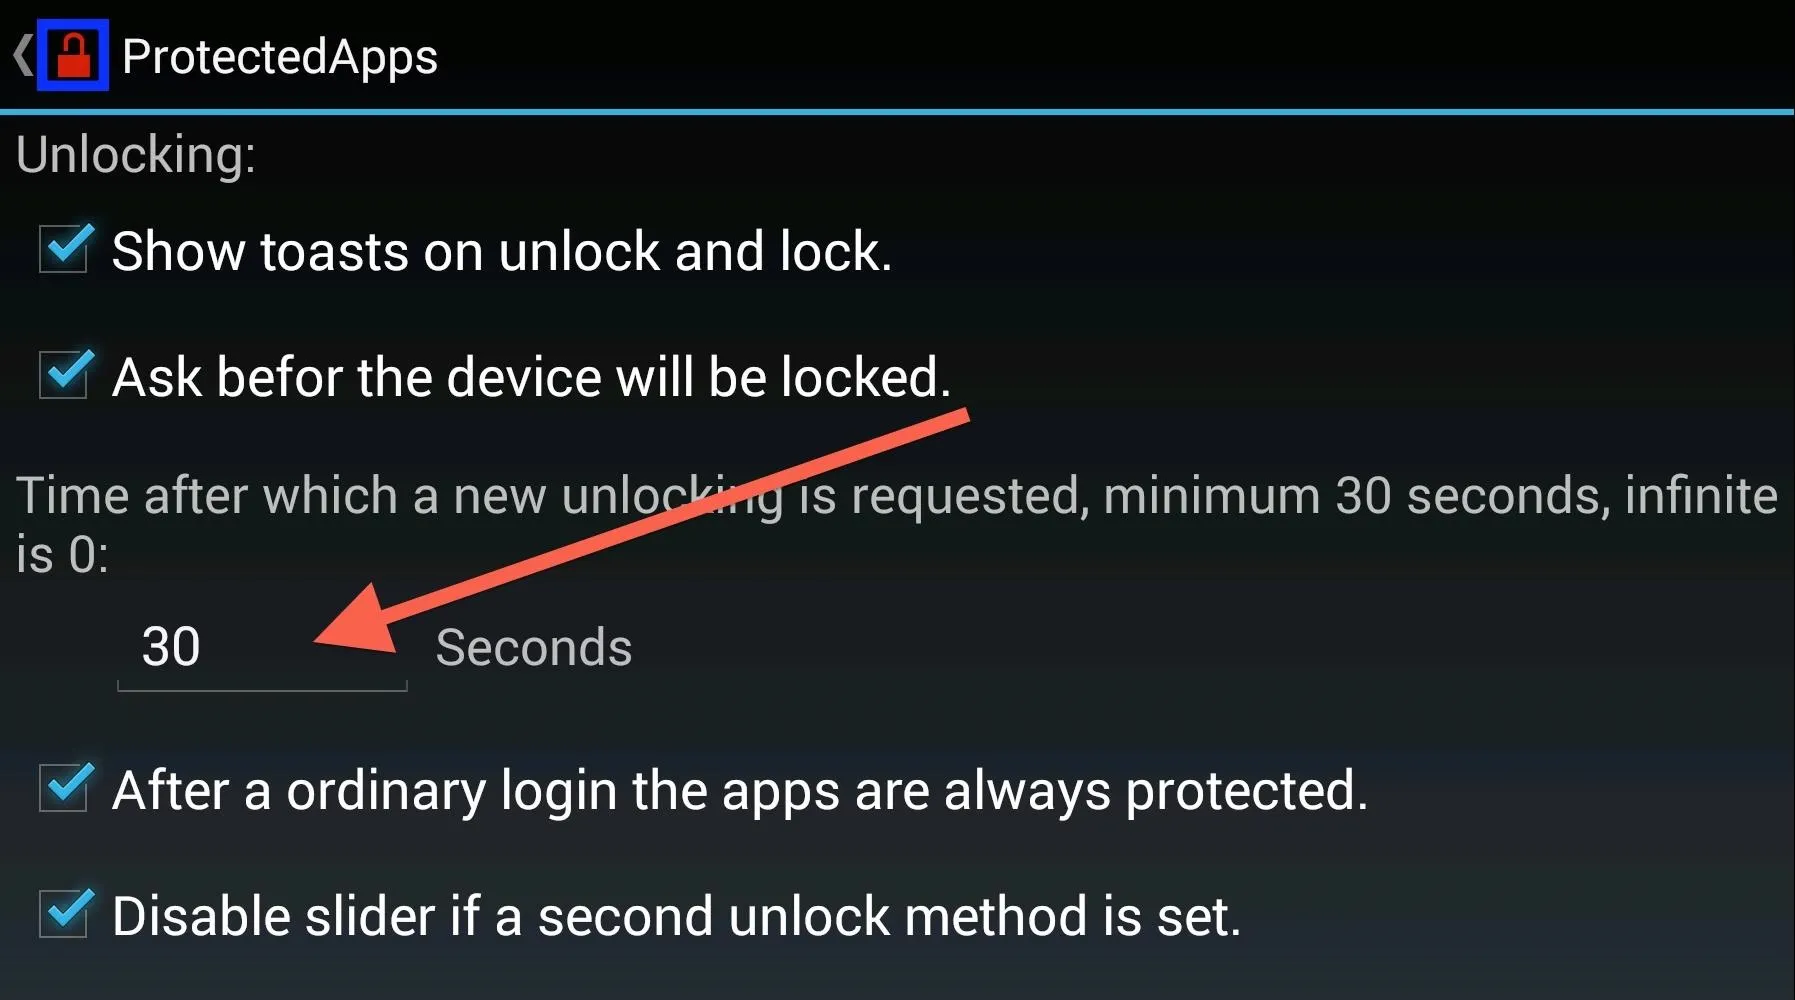
There are also options to change when an app relocks after you close the app. To change that, head to the Unlocking section and change the amount of time in seconds, with 30 being the minimum (although "0" will make it so that the apps never lock after their initial unlocking). Keep in mind that locking or rebooting your device will re-lock all of your apps.
With this module, you will now be able to lend out your phone without anyone seeing the ungodly amount of selfies in your Gallery, or those not-so-safe-for-work text messages.



Comments
No Comments Exist
Be the first, drop a comment!