Sense 6 is great, don't get me wrong, but sometimes I start to miss the vanilla Android experience that comes with Nexus devices. You can always convert your M8 to the Google Play Edition, but then you'd have to ditch all the Sense exclusive features, and we wouldn't want that.
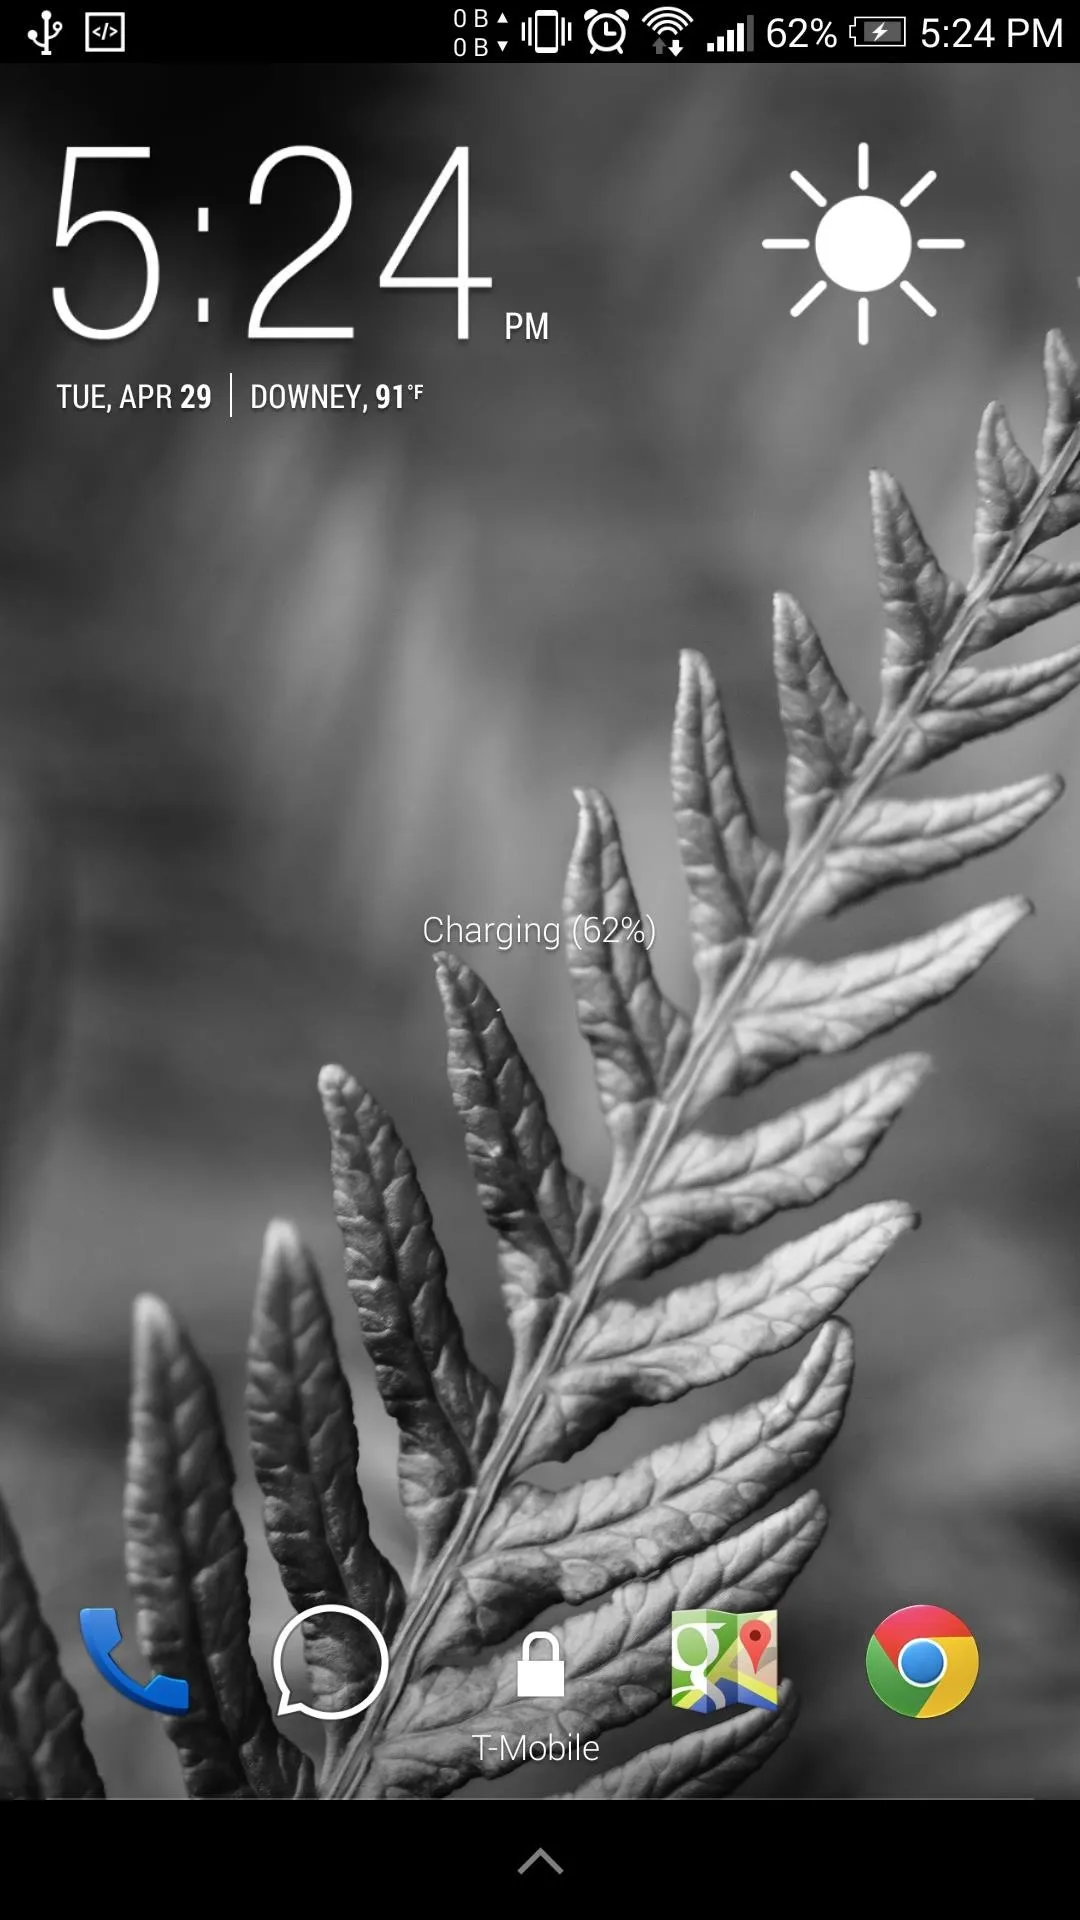
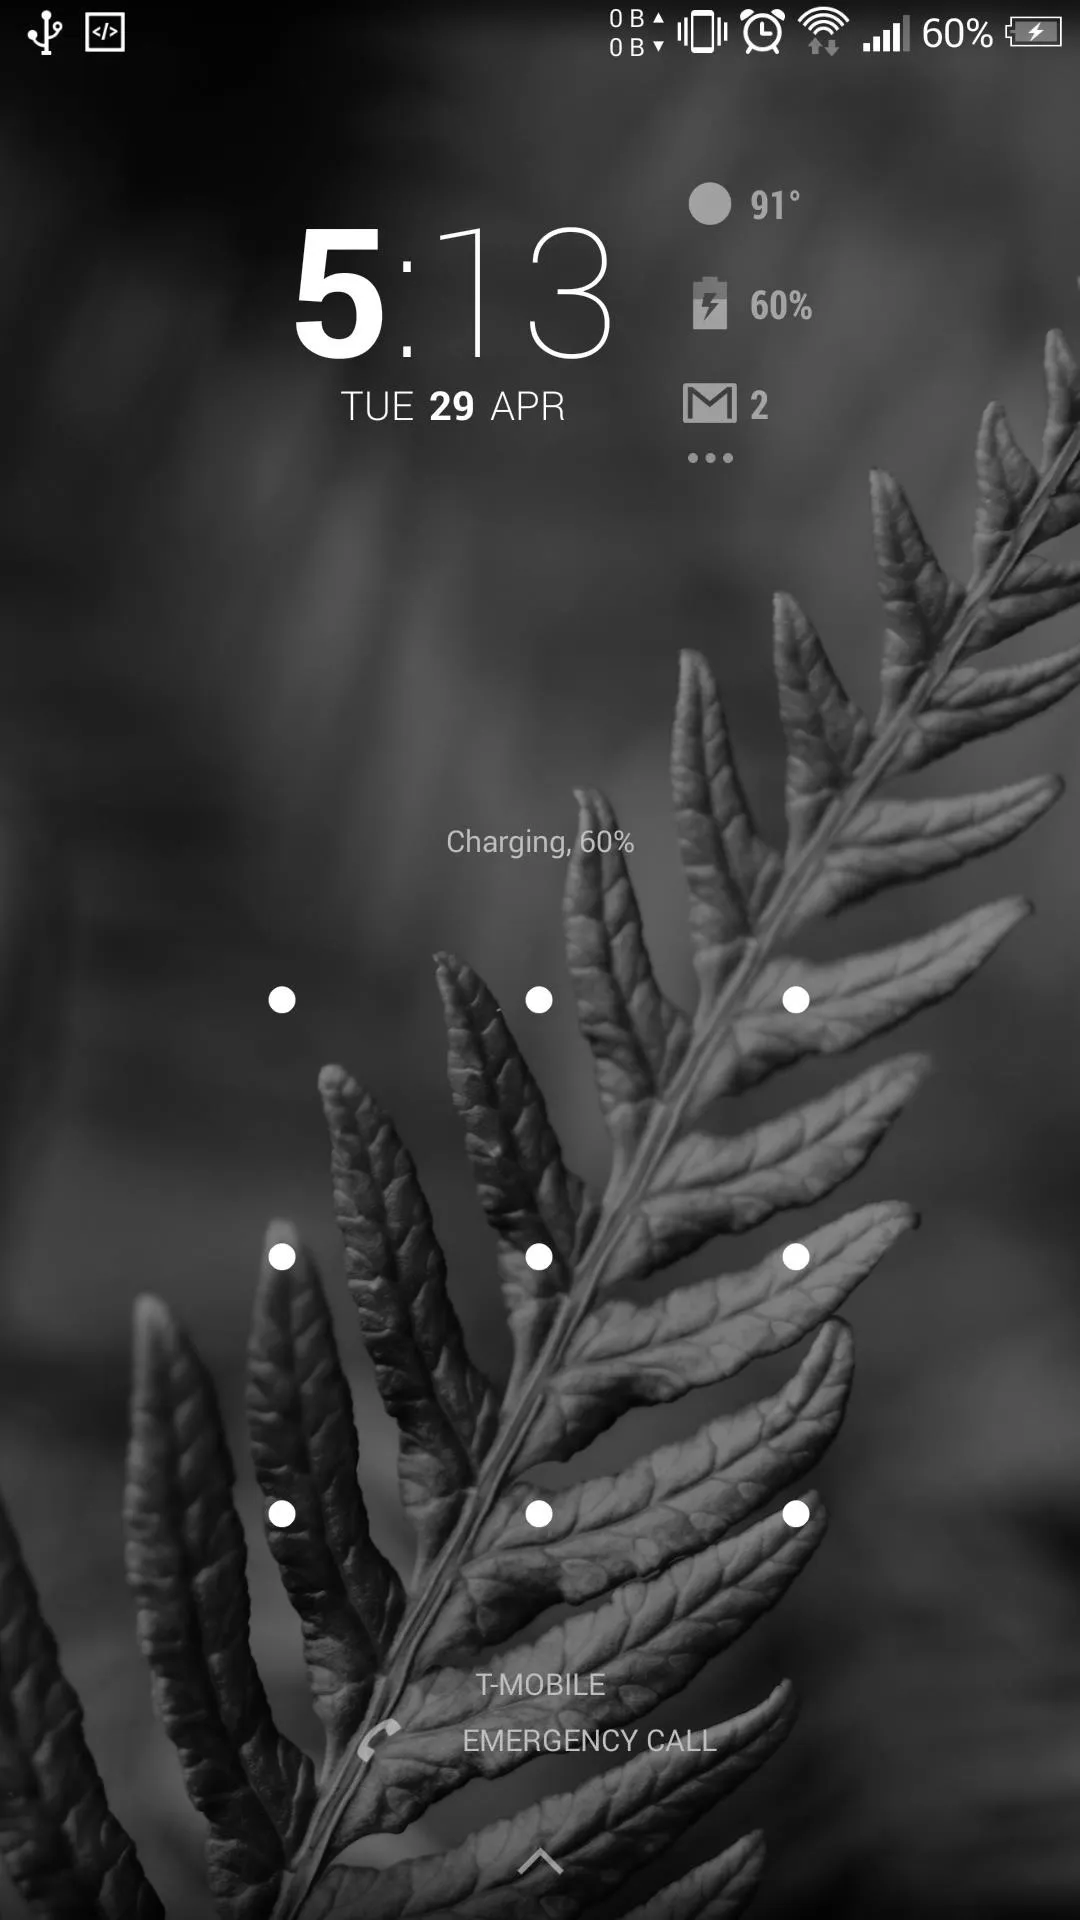
In this how-to, I'll be showing you how to get a fully featured AOSP lock screen on your HTC One M8 without having to flash any tweak or install any mods. For me, it's the perfect blend of Sense and stock Android.
What You'll Need
- This guide is for rooted devices only, so make sure you have a superuser app installed on your M8.
- You will need to have a computer that has ADB installed.
- Must have USB debugging enabled on your device.
- Lastly, you are going to need a file explorer app that has root permission. I'd recommend using ES File Explorer.
Step 1: Remove Your Old Lock Screen
The first thing we will need to do is stop your Sense lock screen from running altogether. To do that, we will need to rename it using a file explorer.
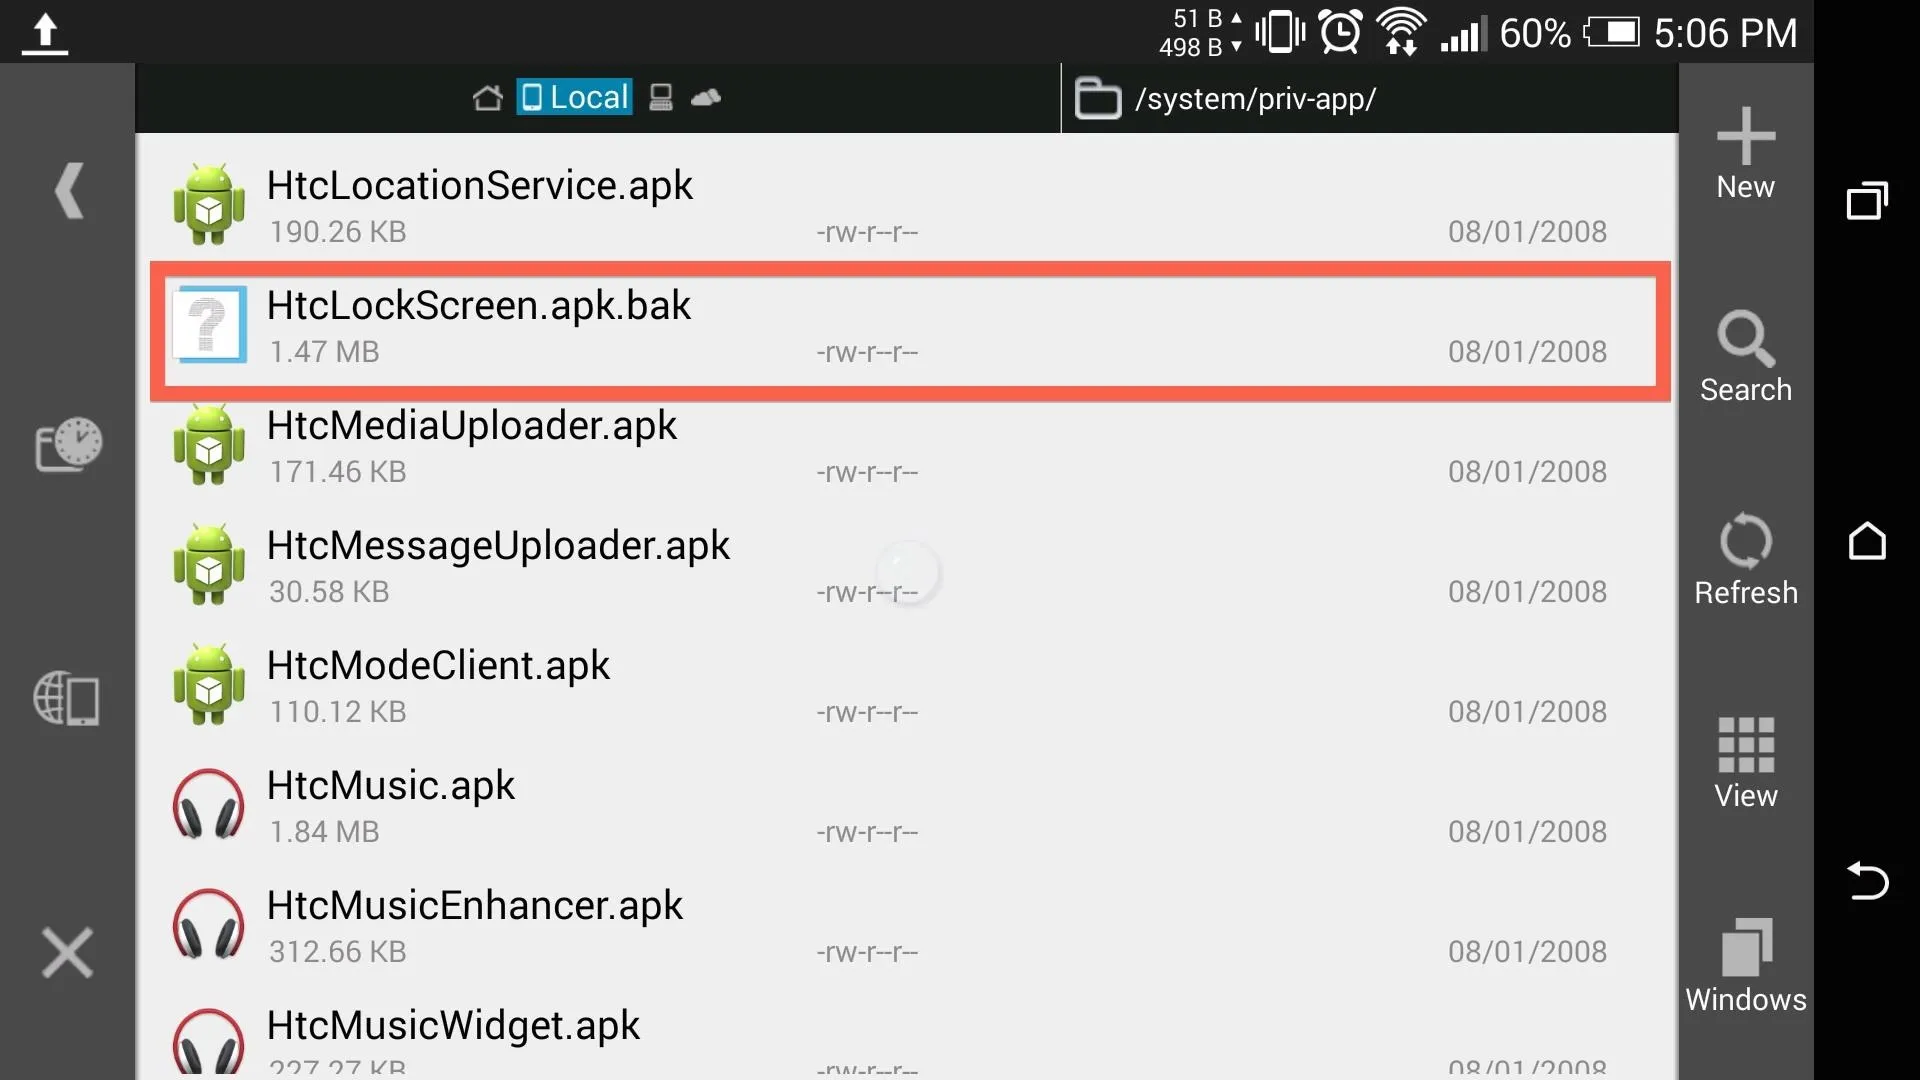
Open ES and browse to /system/priv-app/, then look for HtcLockScreen.apk and HtcLockScreen.odex. If you are using a custom ROM, chances are you don't have HtcLockScreen.odex, so don't worry if you can't find it.

After locating both, rename them by adding .bak to the end of the extension. If you did it right, it should look like the screenshot above. Once you have finished renaming the files, reboot your M8.
Step 2: Enable Widgets
After restarting, you will already have the AOSP lock screen enabled, but it will lack widget support. To get the camera or other widgets enabled, you'll need to run the Google Setup Wizard that comes hidden on your M8, but isn't utilized.

Since we can't just open the apk from /system/priv-app, we will need to run an ADB command in order to initiate the process. Plug your device into you computer, then open up a command prompt and type in the following commands.
adb shell
su
am start -n com.google.android.setupwizard/.WelcomeUserActivity

After the final command is input, you will see the setup wizard start up. Click Next a few times to get it to finish, and you'll be all set.
Going Back to the Sense Lock Screen
If you ever decide to go back to the Sense lock screen, all you'll need to do is remove the .bak you added to HtcLockScreen.apk and HtcLockScreen.odex, then restart your device. The AOSP lock screen will still be set up and ready to go, so you can always go back afterwards.
Limitations
Using the AOSP lock screen means that you'll lose the ability to unlock your device with gestures, but that functionality can be replaced by flashing a new kernel. Also, the camera widget, accessible by swiping right from the main lock screen, will only work with the new Google Camera, not the stock Sense camera.


Other than those few drawbacks, you will now have a feature packed AOSP lock screen on your M8, complete with camera shortcut and multiple widgets. Be sure to leave me a comment below if you run into any issues.


Comments
No Comments Exist
Be the first, drop a comment!